Step‑by‑Step Chimney Inspection Checklist for Colorado Homes
A structured checklist makes chimney inspections clear, consistent, and effective. In Colorado, elevation, sunshine, wind, and freeze‑thaw cycles add unique stressors to chimney systems, so a methodical approach is especially valuable. This guide walks through a practical sequence that homeowners and professionals alike can use to understand the condition of a fireplace, stove, or insert and its venting. From exterior components that face the elements to interior details that influence safety and performance, each step builds a complete picture. If you are planning your next appointment, consider working with local chimney inspection services that are experienced with Colorado’s construction styles and climate realities.
Start with Safety and Preparation
Begin by ensuring the system is cool. Avoid burning for at least 24 hours before an inspection. Clear the hearth area of rugs, tools, and decor to provide open access. If attic or basement spaces house sections of the chimney, make sure those areas are accessible and well lit. Secure pets, and have previous reports or appliance manuals handy. Safety equipment for the inspector, such as stable ladders and protective coverings for flooring, helps prevent accidents and keeps your home tidy.
Exterior Overview from the Ground
Before climbing, assess the chimney from the ground using binoculars if available. Look for plumb alignment, even brick courses, and any obvious cracking or discoloration. Check that the cap is present and appears secure. Note the roof pitch and any potential obstacles to safe access. Observe nearby trees that could drop debris or embers onto the roof. A ground‑level scan sets expectations and alerts the inspector to areas that may need closer attention once on the roof.
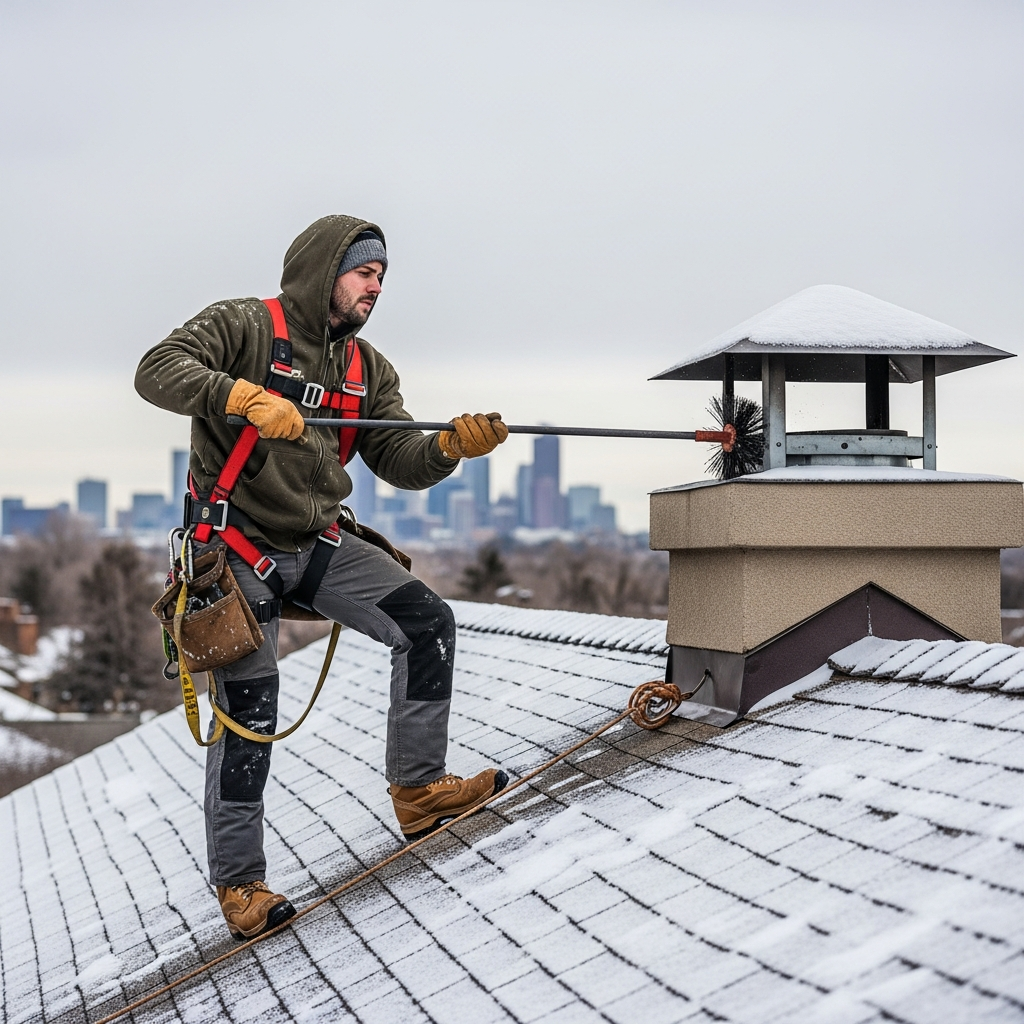
Roof‑Level Inspection: Cap, Crown, and Flashing
At the top, verify that a properly fitted cap is in place and that spark arrestor screens are intact and sized appropriately for local wildfire considerations. Examine the crown or chase cover for cracks, pooling water, or thin sections prone to rapid deterioration. On factory‑built systems, look for rust or seal failures at seams. Inspect flashing for tight integration with roofing materials and for sealant that remains flexible and adherent. In Colorado’s sun and wind, sealants can degrade quickly; early detection of gaps prevents leaks and hidden moisture damage.
Chimney Structure and Masonry Condition
Assess the chimney stack for spalling brick faces, open mortar joints, and efflorescence that indicates moisture migration. Check for step cracking along mortar lines and for any signs that the chimney has separated from the house wall. For chase enclosures, review siding condition, fasteners, and trim where water may enter. Confirm that termination height and clearances from roof surfaces meet accepted guidelines, which influence drafting behavior and safety in windy conditions common across the Front Range and mountain communities.
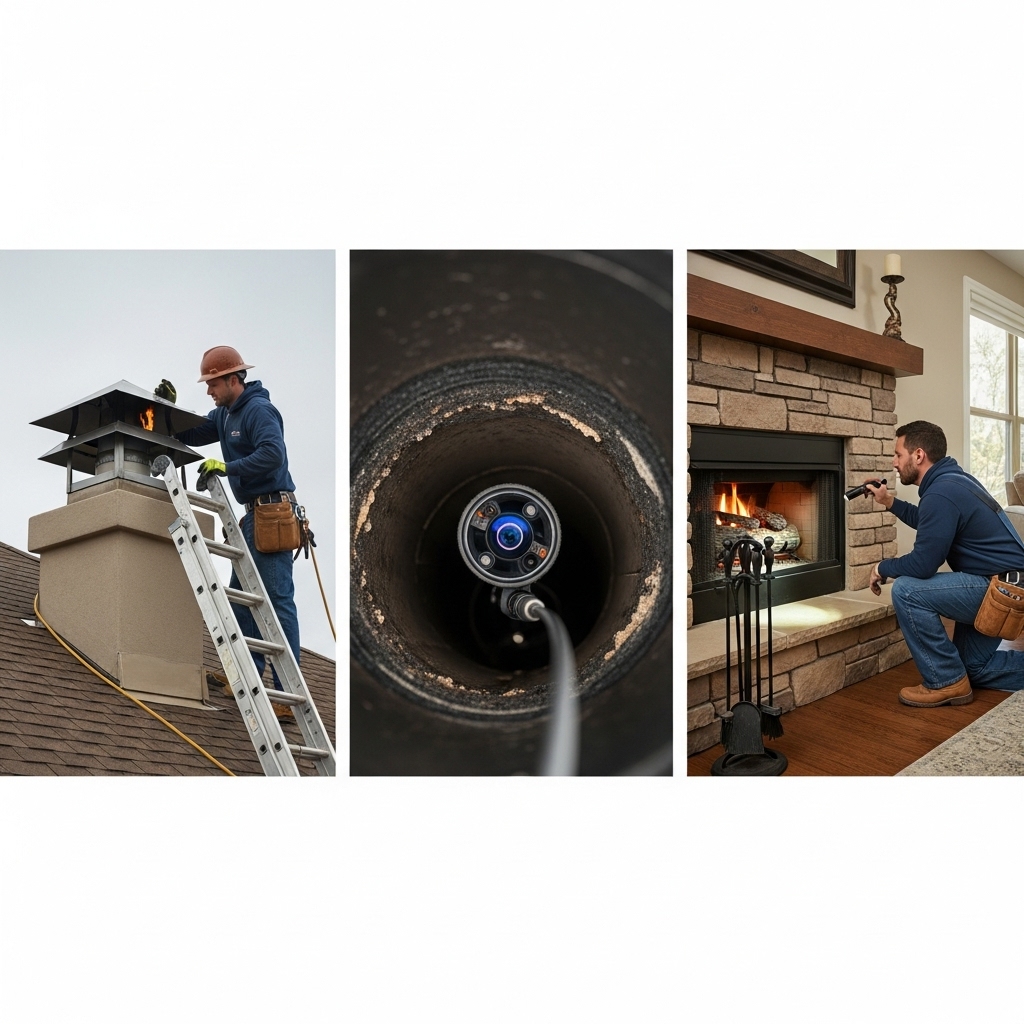
Flue Entry and Liner Continuity
Using appropriate optical tools, examine the flue interior for soot or creosote, cracked or missing tile sections, gaps at joints, or damage to stainless steel liners. Note offsets, transitions, and thimbles where appliances connect. Look for obstructions such as nests, leaves, or construction debris. Document the liner type and diameter and confirm that it is consistent from bottom to top, or that transitions are made with approved components. Continuity matters for safe drafting and for reducing condensation that can accelerate corrosion.
Firebox and Smoke Chamber
Inside the home, evaluate the firebox for loose or missing firebrick, deteriorated mortar joints, and expansion cracks. Confirm that the hearth extension is adequate and level. Inspect the lintel and the smoke chamber transition for smoothness and proper geometry that guides combustion byproducts into the flue. Rough smoke chamber walls can collect deposits more quickly, so note any parging or repair needs. Test damper movement and verify that it opens fully without binding.
Appliance Connections and Surrounds
For stoves and inserts, review connector pipes, clearances to combustibles, and gasketing at surrounds or faceplates. Gas appliances require secure, correctly sized vent connectors and proper seals to prevent room air from mixing with flue gases. Pellet systems rely on joints that remain tight and on termination caps that resist wind‑driven backdrafts. Document the brand and model when possible to verify that installation details align with manufacturer requirements and common codes.
Attic, Crawl Space, and Basement Passages
Where the chimney passes through concealed spaces, look for proper clearances from framing and insulation, firestopping where required, and any signs of heat impact. In older homes, clearances may be inconsistent or obscured by remodels. Moisture stains, rust lines on metal components, or wood with a scorched appearance merit further evaluation. Verify that support brackets or platforms for factory‑built chimneys are intact and level.
Moisture and Weatherproofing
Water is a major antagonist for chimneys in Colorado. Note any pathways where water could enter: cracked crowns, unsealed flashing edges, missing counter‑flashing, or failed chase cover seams. Inside, look for staining on ceilings near the chimney or peeling paint on walls that might point to slow leaks. Effective weatherproofing preserves structural integrity and reduces the likelihood of freeze‑thaw damage as temperatures swing.
Drafting and Performance Observations
Performance clues often appear during routine operation. Ask the homeowner about start‑up smoke, lingering odors, or magnet‑like downdrafts during storms. In high‑altitude neighborhoods, reduced air density can alter drafting behavior, so confirm that chimney height and termination geometry support stable flow. For wood systems, discuss fuel quality and burn practices, since low‑temperature fires and wet wood increase creosote. For gas systems, verify that the flame appearance and venting layout match expectations for safe performance.
Wildfire and Wind Considerations
Colorado’s wildfire risk in certain areas elevates the importance of spark arrestor screens and ember‑resistant caps. Confirm that screens are clean and appropriately sized to manage embers without unduly restricting flow. In windy zones, inspect for secure fasteners, rigid bracing where appropriate, and flashing that resists uplift. Small adjustments at the termination can make a big difference in stability during strong gusts.
Documentation and Photo Strategy
Thorough documentation is essential. Capture clear photos of the crown or chase cover, cap, flashing, masonry or chase cladding, and any areas of concern. Include images inside the firebox, smoke chamber, and liner. Label photos with the component and location so the report tells a coherent story for the homeowner. If any areas are inaccessible, state that plainly and recommend safe follow‑up when conditions allow, such as returning after ice has melted on a steep roof.
Maintenance Priorities After Inspection
Translate inspection findings into an action plan. Prioritize tasks that address safety first, like resolving liner discontinuities, repairing failed caps, or addressing clearance issues. Next, plan for performance improvements such as smoke chamber smoothing or gasket replacement. Finally, schedule cosmetic or preventive work like crown sealing or minor masonry repointing. Organizing recommendations in this way helps homeowners budget time and attention and prevents small issues from growing into larger problems.
Real Estate and Insurance Context
For property sales, a structured report that follows a checklist is invaluable. It clearly states current condition, notes any code‑related concerns, and identifies recommended steps prior to transfer or occupancy. After hailstorms or wind events, an inspection documents any impact on caps, chase covers, or flashing. Keeping reports, photos, and receipts together builds a file that supports both safety planning and property value over time.
Fuel‑Specific Notes
Wood‑burning fireplaces and stoves require attention to creosote patterns, baffle condition, and gasket performance. Gas appliances emphasize proper venting geometry, airtight seals, and carbon monoxide considerations. Pellet systems focus on ash accumulation, joint tightness, and protection from wind‑driven precipitation at terminations. Tailoring the checklist to the fuel type ensures no critical element is overlooked.
Frequently Asked Questions
Question: How often should I run through this checklist at home? Answer: Use it annually as a reference for discussions with your inspector and any time you notice performance changes or weather events that could have affected the system.
Question: Can I perform parts of the inspection myself? Answer: You can observe exterior conditions from the ground, check for obvious interior changes, and keep records. For roof work, internal flue views, and code evaluations, rely on a qualified professional for safety and accuracy.
Question: Do high‑efficiency inserts change the checklist? Answer: The core structure remains, but inserts introduce additional focus on surround sealing, liner sizing, and manufacturer‑specific requirements for adapters and termination components.
Question: What if the inspection reveals wildlife activity? Answer: Do not light a fire. Schedule humane removal and an inspection to confirm the flue is clear and components are intact. A cap with proper screening is essential to prevent recurrence.
Question: When is a more comprehensive inspection level needed? Answer: Triggers include property transfers, changes in fuel type, suspected chimney fires, or visible structural movement. Your inspector will explain why a deeper look is warranted if hazards are suspected.
From Checklist to Action
A step‑by‑step inspection process turns a complex system into a set of manageable observations and decisions. By following a consistent sequence and documenting each component, you reduce uncertainty and create a clear plan for maintenance. Colorado’s climate amplifies the benefits of a methodical approach because small gaps or cracks can quickly become bigger problems in sun, wind, and freeze‑thaw conditions. If you prefer expert guidance at each step, partnering with regional chimney inspection services ensures that the checklist is executed safely and thoroughly.
Make Your Next Burning Season Safer
Give yourself a smoother, more comfortable winter by booking a professional evaluation now. Turn this checklist into real‑world peace of mind and a prioritized plan for upkeep when you take a moment to schedule a chimney inspection with a trusted Colorado team.