Chimney inspections are the backbone of fireplace safety for Denver households. Whether you use your fireplace every weekend or just a few times a season, an organized inspection routine can prevent smoke problems, carbon monoxide intrusion, and costly structural damage. In this guide, you will find a thorough, homeowner-friendly checklist tailored to Denver’s climate, with explanations of what to look for, how to document findings, and when to call in a professional. If you prefer expert eyes from the start, scheduling a reputable chimney sweep before peak winter offers confidence that your system is ready.
Unlike casual spot-checks, a proper inspection follows a sequence from the firebox to the cap, capturing how each component supports safe draft and clean combustion. This step-by-step approach reveals issues like creosote accumulation, cracked tiles, failed seals, animal nesting, and weather damage common to the Front Range’s freeze–thaw patterns.
Understanding the Levels of Inspection
Homeowners often hear about different inspection levels. While terminology may vary among providers, consider three escalating depths:
- Visual maintenance inspection: A routine look at accessible portions of the firebox, damper, smoke chamber, and flue entry, combined with a cap and crown check from the roof or binoculars.
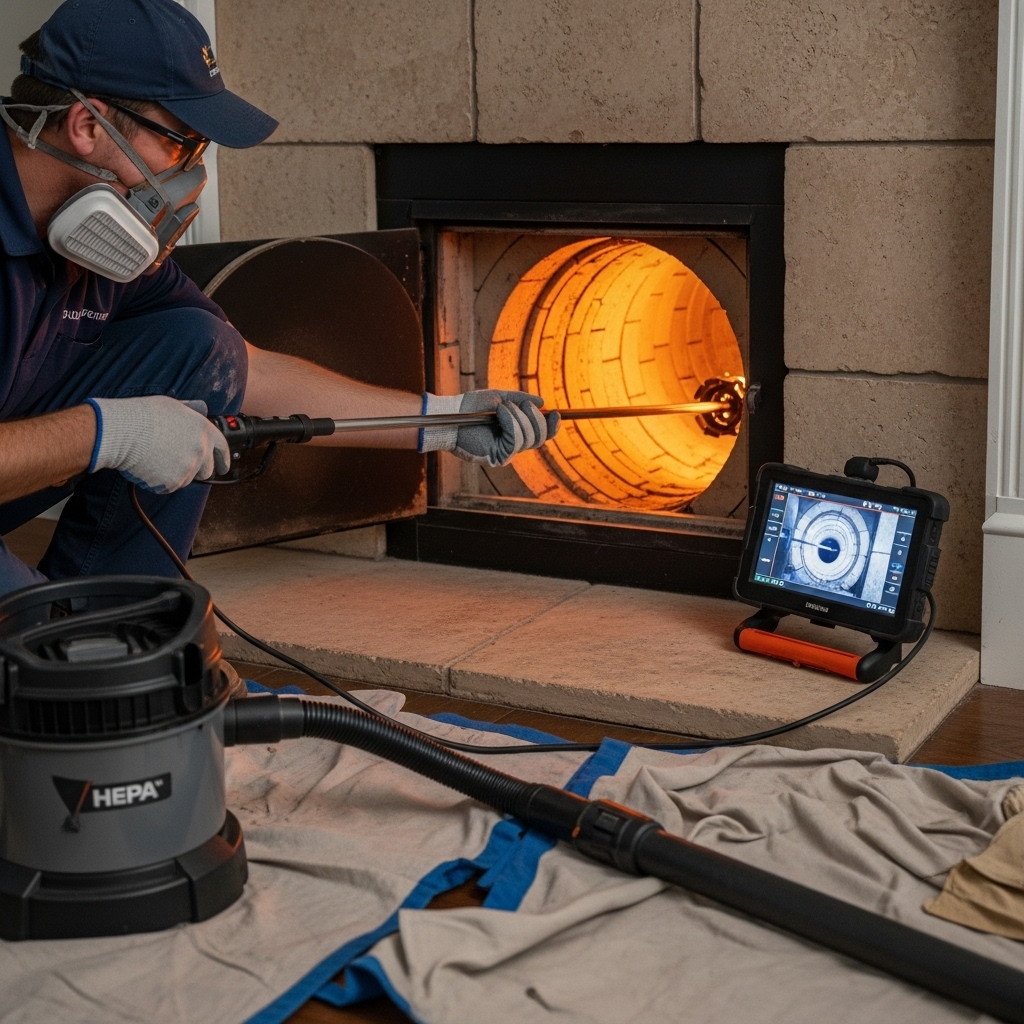
- Comprehensive internal inspection: Adds tools like mirrors or cameras to view the full flue liner, smoke chamber transitions, and hard-to-see areas.
- Intrusive or diagnostic inspection: Used when damage is suspected, involving removal of components or finishes to access concealed areas.
For most Denver homes, a comprehensive internal inspection once a year is a reliable baseline, especially if you burn frequently or experienced heavy storms, wildlife activity, or renovations affecting airflow.
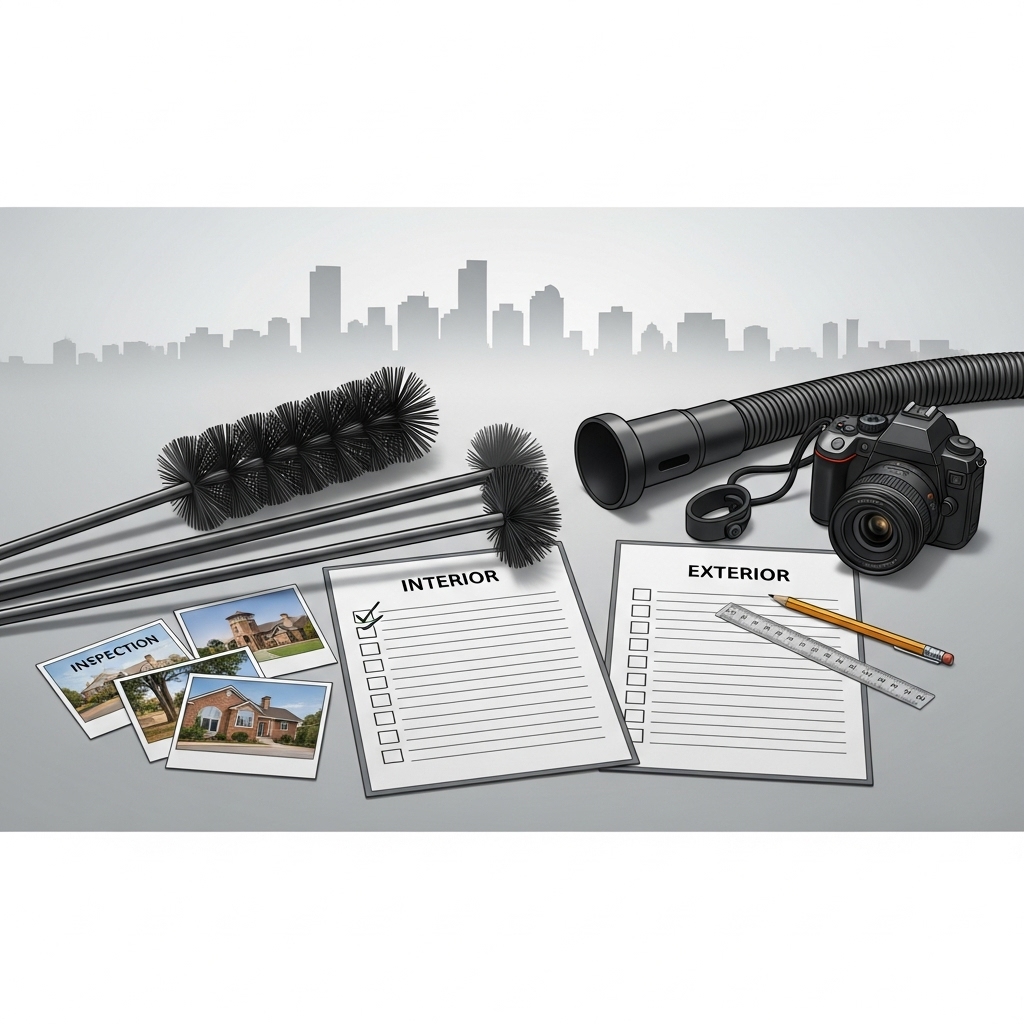
Pre-Inspection Preparation
- Let the fireplace cool completely—at least overnight after the last fire.
- Clear the hearth area and move furniture away to keep pathways open.
- Set out a flashlight or headlamp, mirror, a small hand brush, a notepad or phone for photos, and protective gear (gloves, eye protection, dust mask).
- Open a nearby window slightly to moderate pressure as you open and close the damper during checks.
Firebox and Doors
- Look for cracked firebrick or refractory panels. Hairline cracks are common; cracks that penetrate the full thickness need attention.
- Check mortar joints for gaps or missing material.
- Inspect doors and gaskets. Doors should close firmly and gaskets should be intact without frayed sections.
- Verify that the grate is stable and not warped.
Damper and Smoke Shelf
- Open and close the damper to ensure smooth operation. Note rust, bent components, or a damper that fails to seat properly.
- Shine light up to the smoke shelf. Scoop out debris like soot piles, leaves, or nesting materials.
- Smell for strong creosote odor, which may indicate heavy deposits deeper in the flue.
Flue Liner and Smoke Chamber
- Use a mirror or camera to observe the flue. You should see consistent liner surfaces without missing tiles, gaps, or heavy glaze.
- Look at the smoke chamber’s transitions for smoke leakage paths or parging deterioration.
- Note any white or brown staining on exterior masonry, which can signal moisture issues.
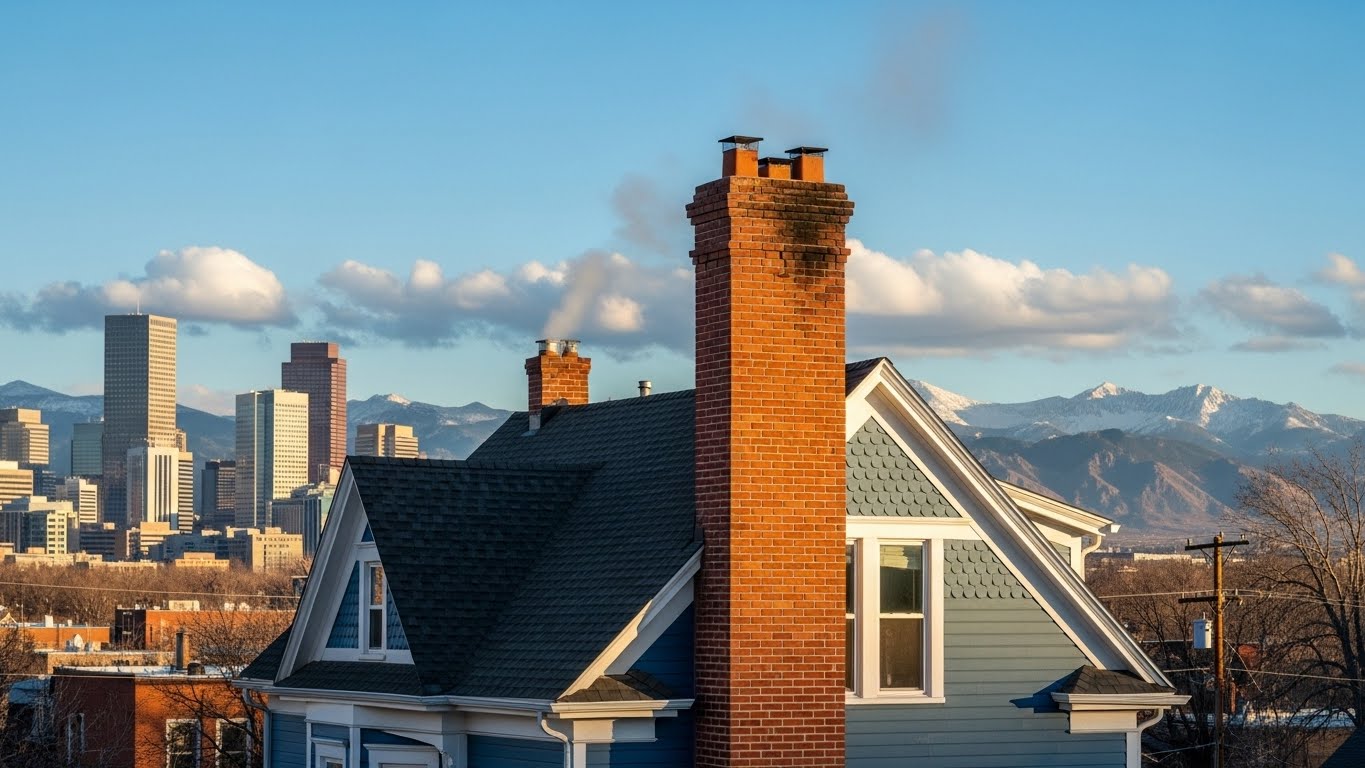
Chimney Exterior, Crown, and Cap
- From the ground, scan the stack for leaning, spalling bricks, or missing mortar.
- From the roof or a safe vantage point, examine the crown for cracks or crumbling.
- Ensure the cap is firmly attached and its screen is clear of soot buildup. Denver winds can loosen fasteners; tighten or replace as needed.
- Inspect flashing where the chimney meets the roof for gaps or lifted edges.
Ventilation and Draft Performance
- With the damper open, light a match near the opening and watch the smoke. It should be drawn upward quickly.
- If smoke lingers or reverses direction, consider competing appliances (kitchen fans, dryers) or blockage at the cap.
- Prime a cold flue before a fire by preheating the air column with kindling or a heat source held safely near the damper.
Seasonal Concerns Unique to Denver
Rapid freeze–thaw cycles can push moisture into microcracks and widen them, especially around the crown and mortar joints. Snowmelt refreezing on cap screens can temporarily restrict draft. Wind-driven debris, including pine needles and leaves, collects on caps and shelves. Dry winter air can also influence how quickly a cold flue cools between fires, increasing condensation and residue formation. These conditions make mid-season checks especially valuable.
Mid-Season Mini-Inspection
- Check the cap screen for soot or frost buildup.
- Vacuum loose ash from the firebox to maintain airflow.
- Confirm damper operation and reseat if ash has interfered with hinges.
- Smell the fireplace on warmer days; odors can indicate deposits or moisture intrusion.
If your mid-season check reveals heavy deposits or draft issues, it may be prudent to schedule a professional chimney sweep and request a written report with photos detailing the flue, smoke chamber, and cap.
Documentation You Should Keep
- Date of inspection, who performed it, and what tools were used.
- Photos of any damage, stains, or deposits, including close-ups and a wider context shot.
- Notes about smoke behavior, odors, or unusual sounds.
- Recommendations and a timeline to address issues found.
When to Pause Fireplace Use
- Shiny or tar-like creosote deposits visible in the flue.
- Cracked flue tiles, missing sections, or gaps in liner joints.
- Persistent smoke spillage into the room.
- Animal noises, visible nesting materials, or a blocked cap screen.
- Damper that cannot fully open or will not stay seated when closed.
Inspection for Gas Fireplaces and Inserts
Gas units require inspection even though they burn cleaner than wood. Look for soot on the glass, confirm the glass gasket is intact, and ensure log placement matches the manufacturer’s diagram. Check for dust buildup around air intakes and verify that the vent termination is unobstructed. If you smell gas, stop and contact a professional immediately.
Common Issues Found in Denver Homes
- Creosote glaze from frequent low-temperature fires or unseasoned wood.
- Cracked crowns and missing mortar due to freeze–thaw effects.
- Bird nests in spring and summer, especially if the cap screen is damaged.
- Rusting dampers and lintels from intermittent moisture intrusion.
- Odor issues in shoulder seasons when temperature inversions reduce draft.
Frequently Asked Questions
Q: How often should I inspect my chimney in Denver?
A: A yearly comprehensive inspection is a reliable standard. If you burn heavily in winter or notice draft changes, consider a mid-season check as well.
Q: Can I perform the inspection myself?
A: Many visual checks are homeowner-friendly. However, a thorough internal review with cameras, especially after weather events or renovations, is best done by a professional.
Q: What are signs that I need cleaning, not just inspection?
A: Loose soot falling into the firebox, strong creosote odor, restricted cap screens, or visible glaze indicate it is time for cleaning.
Q: Is a cap really necessary?
A: Yes. A cap protects against moisture, wind-blown debris, and animals. It also helps mitigate downdrafts common during gusty Denver fronts.
Q: Should I worry about carbon monoxide?
A: Proper draft, clean flues, and correctly operating appliances help prevent carbon monoxide intrusion. Install detectors on every level and near sleeping areas as an added safeguard.
Make Your Next Fire Safer and Cleaner
With a clear checklist and regular documentation, you can keep your chimney in excellent condition. If your inspection reveals concerns—or you simply want a seasoned pro to verify hidden areas—book a thorough chimney sweep to confirm everything is functioning as it should before peak burning days return.