Introduction: Advanced Concepts Explained Simply
You may be comfortable with basic chimney upkeep and ready to explore more advanced tasks. In Denver, the combination of altitude, sun exposure, wind, and freeze–thaw cycles means materials and methods matter even more. This guide breaks down advanced repair concepts into clear steps suitable for a careful beginner with patience and attention to safety. We will cover crown resurfacing, targeted tuckpointing strategy, basic chase cover upgrades, and diagnostic techniques that support durable results. If at any point you prefer to collaborate with seasoned technicians, reach out to local specialists in chimney repair who can verify your plan or take over when scope or safety demands it.
Plan the Work: Scope, Safety, and Weather
Advanced tasks take longer and demand steady conditions. Choose a calm, dry day with temperatures in the product’s acceptable range. Assemble personal protective equipment, including gloves, eye protection, a hard hat, and non-slip footwear. Stabilize ladders and use fall protection where appropriate. Document the starting condition with photos. Read all product instructions before opening containers.
Advanced Task 1: Crown Resurfacing with Reinforced Coating
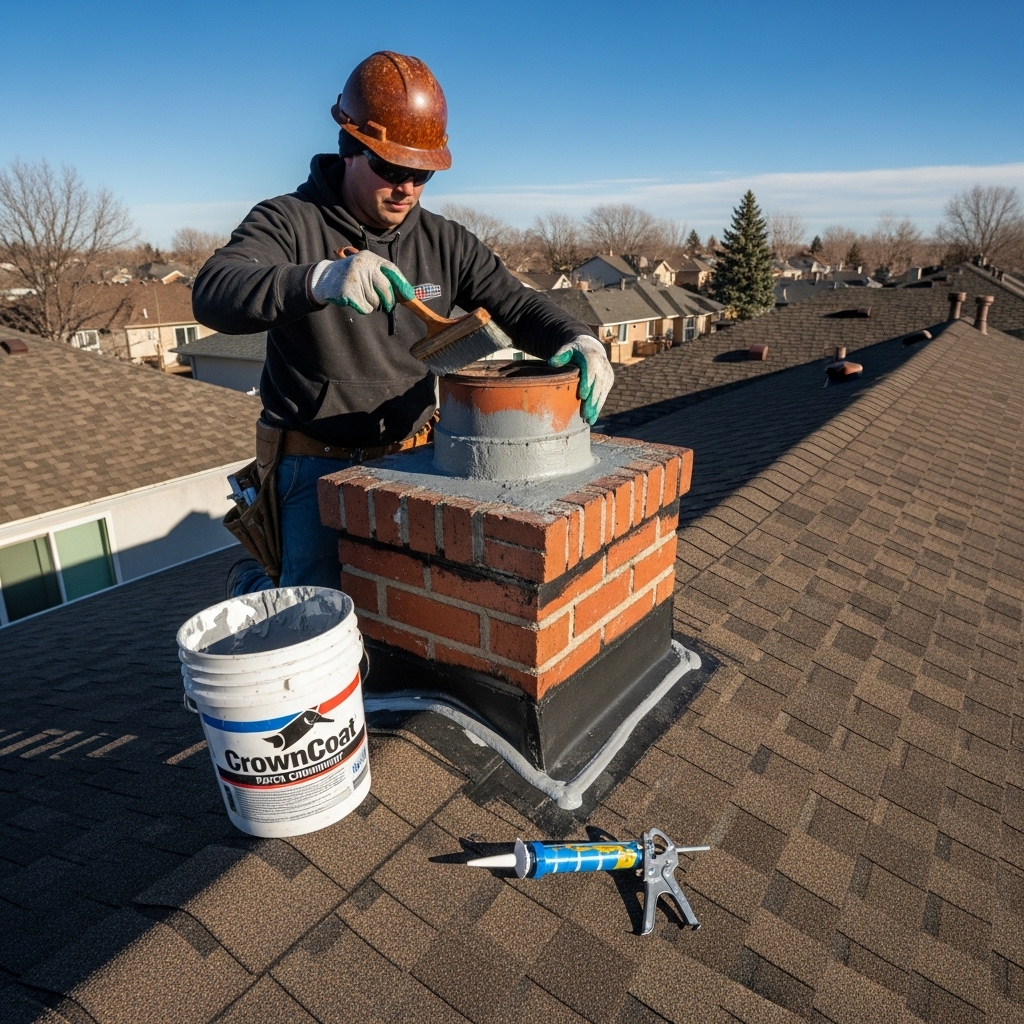
Resurfacing a worn crown goes beyond simply brushing on a sealer. The goal is to create a continuous, sloped, waterproof layer that accommodates movement between the flue and the masonry. Begin by cleaning the crown thoroughly. Remove loose material, moss, and dirt. If there are shallow cracks, chase them slightly to create a receptive surface for filler. Use a compatible patching compound to fill defects and establish uniform slope away from the flue. Around the flue tile, maintain a small gap and apply a high-temperature, flexible sealant to allow differential expansion.
Once repairs cure as directed, apply the first coat of a chimney-rated, elastomeric crown system using a brush to work material into pores and hairline cracks. After the initial coat sets, apply a second cross-directional coat to build thickness and uniform coverage. The reinforced approach yields a more durable surface for Denver’s UV and freeze–thaw punishment. Protect the area from rain or snow during curing, and avoid operating the fireplace until products have fully cured.
Advanced Task 2: Strategic Tuckpointing for Longevity
Rather than spot-filling only the most visible gaps, take a strategic approach. Map the chimney sides that face prevailing weather and sun exposure; these often age faster. Use a cold chisel to remove weak mortar to a consistent depth, typically two to three times the joint width for durable repointing, unless manufacturer guidance specifies otherwise. Brush out debris and lightly dampen the joints if required. Pack in a compatible exterior mortar that balances strength and flexibility. Finish to match existing joint profiles so water sheds readily. Work in manageable sections to maintain quality and cleanup, and protect new joints from rapid drying in intense sun.
Advanced Task 3: Chase Cover Upgrade on Factory-Built Systems
Many prefabricated chimneys rely on a metal chase cover to keep water out of the wooden chase. Older covers can rust, oil-can, or hold water around the flue opening. Upgrading to a sloped, hemmed-edge stainless cover with a raised collar improves durability. Before removing the old cover, measure carefully. Support the panel during removal to prevent bending that could damage siding or roofing. Inspect the top of the chase for rot or uneven framing; correct issues so the new cover seats flat. Install the new panel according to manufacturer guidelines, ensuring the collar is properly integrated with the cap and that fasteners are sealed with a UV-tolerant product. This upgrade dramatically reduces water risks in Denver’s storm cycles.
Advanced Task 4: Flashing Rehabilitation Basics
True flashing replacement may be best left to a roofer, but you can execute a thoughtful rehabilitation when metal is sound but sealant and joints are tired. Clean the reglet where counterflashing meets masonry. Remove brittle old sealant without gouging the mortar. If the counterflashing is loose, resecure it with appropriate anchors. Where step flashing is intact, check shingle laps for proper coverage. Apply a thin, continuous bead of high-quality sealant rated for metal and masonry to reestablish weather resistance. This is a bridging measure that can carry you to a planned full replacement when roofing work is scheduled.
Advanced Task 5: Draft Stabilization Techniques
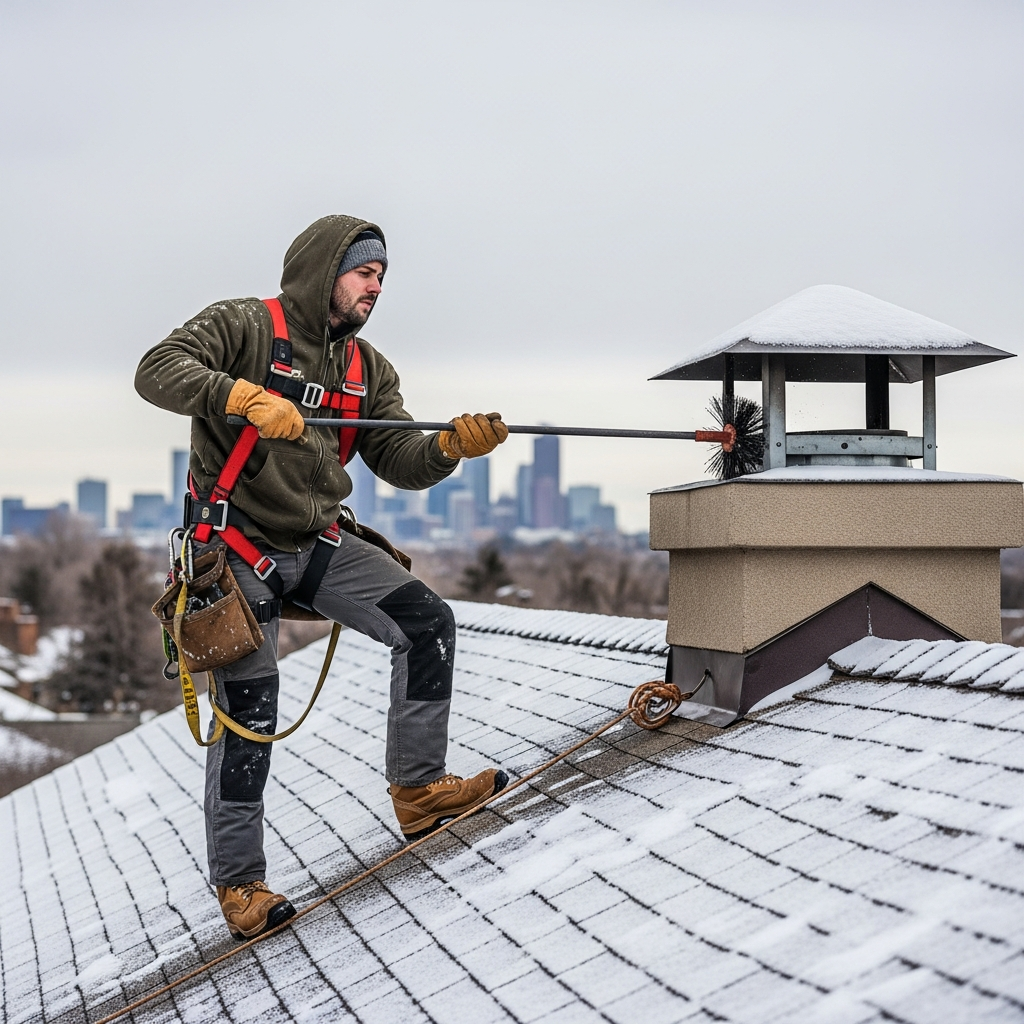
At Denver’s elevation, small obstructions and cold starts can cause smoke rollback. Improve reliability by refining your start-up sequence. Warm the flue with a small kindling fire, ensure the damper opens fully, and stage the wood to promote early heat without smothering the flame. If smoke still backs up, examine cap geometry and consider whether a wind-resistant model would suit the site’s exposure. Evaluate house pressure by turning off exhaust fans during start-up and cracking a nearby window slightly to balance air supply.
Advanced Diagnostics: Linking Symptoms to Sources
Build a matrix that links symptoms to probable causes and test methods. For example, water stains after wind-driven rain point to flashing or cap seams, while stains after long, cold spells point to crown cracks and freeze expansion. Soot smells in humid weather suggest moisture interacting with deposits, while odors on windy days indicate downdrafts. Use targeted spray tests on dry days to isolate specific leaks while someone observes inside. Document each test with photos and notes.
Material Selection for Colorado Conditions
Choose stainless steel for caps and chase covers to resist corrosion. Select crown systems rated for UV and freeze–thaw cycles, and mortars designed for exterior chimneys. For sealants, prioritize flexibility and UV tolerance. Avoid interior-only compounds that harden and crack prematurely. Purchase only the quantity you can apply within the recommended open time; old product loses performance quickly.
Work Sequencing and Timing
Sequence tasks from top down: crown and cap first, then masonry joints, then flashing touch-ups. This prevents dripping materials from soiling finished work below. Check the forecast for a multi-day dry window if your products need extended cure times. Avoid late-day applications that leave fresh coatings exposed to rapid temperature drops overnight.
Quality Control: Intermediate Checks
After each phase, perform a mini-inspection. For crowns, test water beading and verify slope. For mortar joints, scrape gently after cure to confirm proper hardness and adhesion. For flashing rehab, inspect bead continuity and adhesion without gaps or fishmouths. Photograph results and compare to your plan, noting any deviations you need to correct before proceeding.
Safety Boundaries and Hand-Off Points
Know your limits. Stop if you encounter leaning stacks, deep structural cracks, missing liners, heavy creosote glaze, or unsafe roof conditions. Complex rebuilds, liner installations, and full flashing replacements typically require professional crews and specialized tools. Handing off at the right moment protects both your home and your investment of time.
Frequently Asked Questions
Is crown resurfacing a permanent fix? It is a long-lasting improvement when applied correctly, but crowns are exposed constantly. Plan periodic inspections and recoating as needed.
Can I repoint only a few joints? Yes, but think strategically. Address clusters and weather-facing sides to extend overall life rather than chasing single joints season after season.
Do stainless chase covers stop all leaks? They dramatically reduce risk when properly installed, but seams, collars, and cap integration must be correct. Installation quality is crucial.
How do I know if draft issues are solved? Track several start-ups in varying weather. If smoke consistently exits cleanly without odor or rollback, your adjustments are working.
What products are best for Denver? Look for UV-resistant, freeze–thaw-rated crown systems, flexible exterior sealants, and stainless hardware. Choose materials from reputable manufacturers that publish performance data.
How do I avoid over-sealing the chimney? Repair cracks and joints first, then use breathable water repellents on masonry where appropriate. Avoid trapping moisture behind non-breathable coatings.
Putting Advanced Steps Into Practice
With careful planning, patient execution, and climate-aware materials, a beginner can complete advanced chimney tasks safely and effectively. When you want confirmation that your plan suits Denver’s weather and building practices, coordinate with local professionals in chimney repair to validate your approach, refine material choices, and ensure your chimney stays dry, stable, and draft-ready.