Living and working along the Front Range, I’ve seen just about every scenario a Denver chimney can throw at a homeowner. From brick spalling after a tough freeze-thaw winter to caps torn by spring winds, our climate puts unique demands on masonry and prefab systems alike. When people ask what to expect with the overall financial commitment for their chimney, I always start with the same advice: focus on the condition, the safety implications, and the scope of work that will restore performance and protect your home. Whether you’re in a historic bungalow in Baker or a newer build in Green Valley Ranch, a measured, thorough approach to chimney repair will give you a clear path forward without surprises.
Before we talk about the details, it helps to remember that no two chimneys age in exactly the same way. Exposure, materials, roof pitch, and even nearby trees influence how moisture and wind interact with the stack. I encourage homeowners to think less about a quick patch and more about the long-term health of the chimney system, because the right plan—properly executed—pays you back in safety, efficiency, and peace of mind.
Denver’s Climate: The First and Biggest Factor
Our elevation and weather patterns influence nearly every repair decision. Freeze-thaw cycling is the headline culprit; moisture migrates into micro-cracks or porous mortar, then expands as temperatures drop, widening those pathways. That’s how you get flaking brick faces, crumbling joints, and hairline fractures in crowns. Add strong chinook winds, summer UV exposure at high altitude, and sudden downpours, and you’ve got a recipe for accelerated wear. This context matters because the plan to stabilize and restore a chimney in Denver often includes moisture management strategies—proper crowns, well-seated caps, breathable yet protective coatings in the right situations, and especially well-executed flashing at the roofline.
The Inspection Sets the Direction
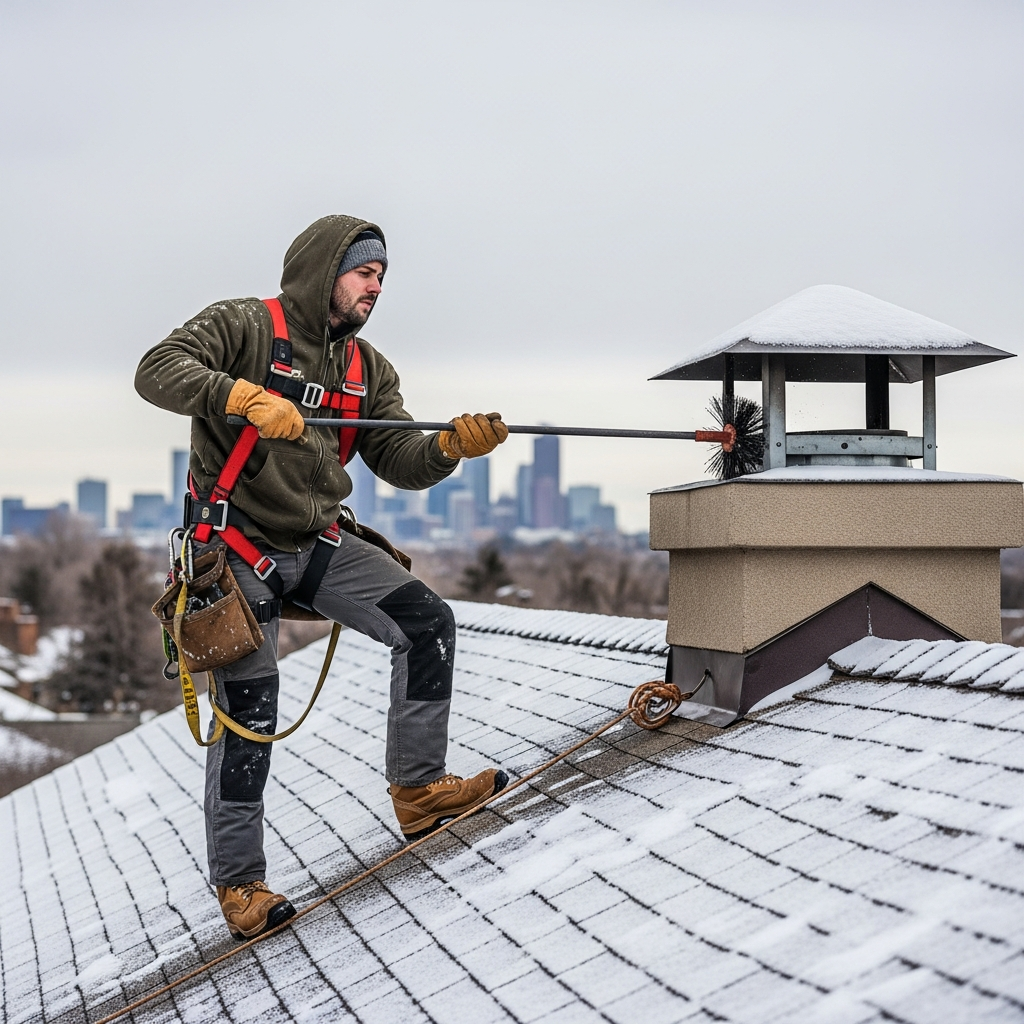
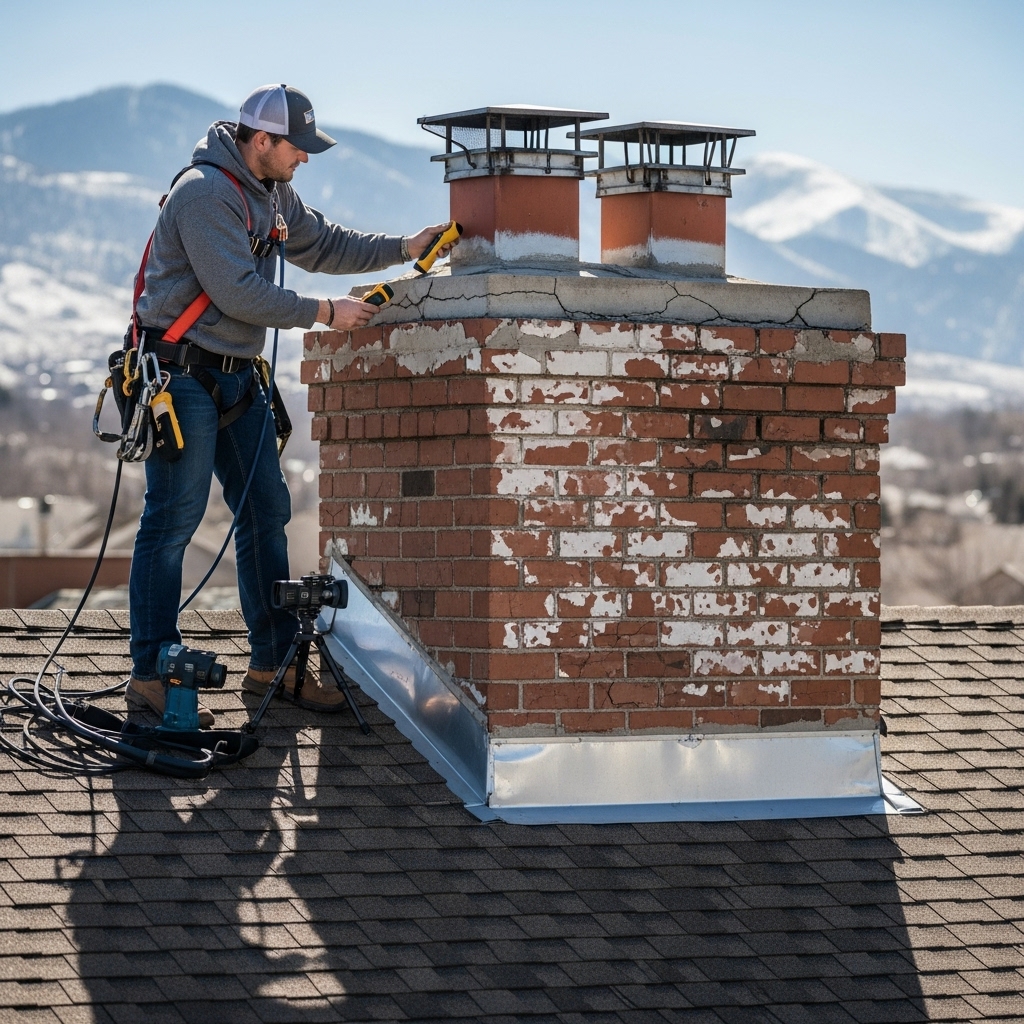
A proper evaluation is the foundation of any sensible plan. That typically means a visual assessment from the exterior, a review of the roof-to-chimney transition, and a camera inspection of the flue if conditions suggest interior concerns. Documentation—clear photos and notes—helps you understand the rationale behind each recommendation. In older homes, we also look for historic mortar compatibility, brick hardness, and evidence of previous piecemeal patching that might have masked rather than solved moisture intrusion. Interior clues, like staining on ceilings near the chimney or a smoky odor in humid weather, also guide the diagnosis.
Masonry Repairs: From Tuckpointing to Rebuilds
For true masonry stacks, the most common work involves tuckpointing (replacing failed mortar joints), addressing spalled brick, and restoring the crown. Good tuckpointing is more than filling gaps; it’s selecting the right mortar type and tooling it to shed water while matching the historical look where appropriate. When damage is concentrated in the top courses where weather is most intense, a partial rebuild of the upper section is often the durable choice. Crowns that were poured too thin or lack proper overhangs tend to fracture and funnel water into the stack, so correcting that with a properly reinforced, sloped, and overhanging crown becomes part of a well-rounded plan.
Understanding the Flue and Liner
Inside the stack, the condition of the liner determines safety and performance. Clay tiles can crack, separate at joints, or be misaligned; metal liners can be undersized or poorly supported; some older systems may not meet current venting standards for the appliance they serve. If a camera inspection reveals compromised tile tiles or a gap, carefully chosen relining solutions bring the system back to safe operation. The selection depends on the appliance—wood-burning, gas insert, or furnace—and the geometry of the flue. A properly sized liner improves draft and reduces condensation issues that can accelerate deterioration.
Flashing and the Roof Interface
Many of the stains I see on ceilings or the upper walls near a chimney are the result of flashing failures. Step flashing and counterflashing must work in tandem, and they should integrate with the roofing system without relying solely on sealants. Mortar reglets should be cut cleanly for the counterflashing, and the transitions should shed water, not stop it. In Denver’s wind events, poorly attached metal can lift, allowing driven rain to get under shingles. A proper fix focuses on metalwork, integration with underlayments, and attention to corners and valleys where water wants to linger.
Prefab Systems and Chase Covers
Not all chimneys are brick and mortar. Many modern homes feature factory-built systems with framed chases. These require a different skill set. A rusted, undersized, or improperly sloped chase cover is a notorious water entry point. So are gaps where siding meets the chase or where rooflines intersect with the chase wall. Properly replacing a chase cover with the right gauge metal, hemmed edges, adequate slope, and sealed penetrations is the type of detail that keeps water out for the long haul. We also examine storm collars, termination caps, and any compromised exterior cladding.
Scheduling, Seasonality, and Access
Access influences planning. Steeper roofs, multiple levels, and landscaping obstacles can require staging or specialized ladders. In winter, icy conditions can limit safe roof work, while in summer we plan around afternoon storms. Seasonality can affect lead times, especially after a spring of heavy winds or early fall cold snaps when many homeowners discover issues at once. Having flexible windows and clear communication helps line up the right team and ensures work proceeds without unnecessary delays.
Safety, Codes, and Your Peace of Mind
Beyond comfort, fireplace and venting systems are life-safety components. Work needs to align with applicable codes and industry standards for materials, clearances, and venting geometry. For homeowners, that means trusting verifiable processes: documented inspections, photo evidence, and a clear written scope that explains why each step matters. If a recommendation seems unfamiliar—say, re-creating proper crown dimensions or installing an appropriately sized liner—ask for the reasoning and how it ties back to observed conditions and safety guidelines. A good contractor welcomes those questions.
How Denver’s Homes Shape the Plan
Architecture across the metro area can change the playbook. Older brick bungalows often have softer brick and lime-rich historic mortar that needs careful matching. In some mid-century builds, oversized flues paired with modern gas appliances can lead to condensation and masonry damage. Newer houses might have large, expressive chimneys that intersect multiple roof planes, making flashing more complex. Each situation calls for a tailored solution, with the goal of reliable performance and reduced maintenance down the line.
The Role of Preventive Maintenance
Once a chimney is stable and watertight, maintenance becomes straightforward. Annual or routine inspections confirm that caps remain secure, flashings are tight, and mortar is holding up after winter. If you burn wood, creosote management is part of the conversation; for gas, we verify that venting remains properly sized and free of obstructions. Small corrections handled promptly—like a hairline crown crack or a loose storm collar—keep minor issues from snowballing into bigger problems.
Balancing Aesthetics and Durability
Homeowners often ask whether a repair can improve looks while improving function. The answer is yes, with the right craft. Matching mortar color and joint style preserves historic character, while a well-formed crown and properly fitted cap lend a crisp, finished appearance. Where coatings or water repellents are appropriate, we select breathable products that respect the needs of the masonry. The objective is always a chimney that looks right for the home and performs like a protective shell against the elements.
Communication You Can Count On
From the first site visit to the final walkthrough, clear communication reduces stress. A detailed report, photos you can reference, and a straightforward plan help you prioritize. If your home has multiple issues—from a tired flue to leaky flashing—sequencing the work can spread out the effort while delivering immediate benefits, like stopping active water infiltration first. Mid-project updates are just as important; weather can shift the schedule, and good teams keep you informed rather than keeping you guessing.
Some homeowners start their research trying to compare line items, but paper alone rarely tells the whole story. Focus instead on understanding the problem, the materials and methods proposed, and the long-term reliability of the plan. If you’re weighing options, ask how each approach addresses water management, structural integrity, and safe venting. Midway through your decision process, it’s wise to revisit the basics and confirm your goals for performance and longevity, because that clarity helps you choose the most sensible path for your chimney repair.
What to Expect During the Work
On the day the crew arrives, you should see a neat setup: protective coverings where they’ll pass through your home, safe ladder placement, and a steady rhythm of work. Expect some noise as metal is cut or masonry is tooled, but also expect dust control and cleanup each day. If weather turns, a good team secures the work site and protects any exposed areas. At completion, you’ll walk through the results, see before-and-after documentation, and receive guidance on care and routine checks.
Why the Right Materials Matter
Quality materials pay dividends. Masonry mixes tuned to the brick, stainless steel for caps and liners where appropriate, and properly gauged metal for chase covers and flashing all add up to durability. Shortcuts—like relying on caulk at flashing joints or pouring thin crowns—often lead to repeat issues. When a proposal emphasizes material specifications and workmanship standards, it’s a sign that longevity is built into the plan.
Peace of Mind Through the Seasons
When your chimney system is sound, you’ll feel it throughout the year. Heavy rains won’t raise alarms about ceiling spots, cold snaps won’t cause new cracking, and evening fires draft cleanly without smoky hesitations. For gas systems, you’ll appreciate reliable venting and fewer service disruptions. And when the next windstorm roars over the foothills, you’ll know the cap is secured and the flashing seated the way it should be.
FAQ
How often should a Denver chimney be inspected?
Annual checkups are a smart baseline, especially after a harsh winter or an active burning season. Even if you seldom use the fireplace, wind-driven debris, nesting animals, and exterior weathering can introduce new issues. A routine look keeps you ahead of problems and documents the chimney’s condition over time.
What are the most common signs I need repair?
Look for water stains on ceilings near the chimney, mortar that powders to the touch, flaking brick faces, rust streaks on metal chase covers, a wobbly or missing cap, or a persistent smoky odor in humid weather. Inside the firebox, cracked tiles or unusual soot patterns can hint at hidden concerns.
Can repairs wait until spring or summer?
Minor cosmetic items can often wait, but active water intrusion or flue safety concerns should be addressed promptly. Moisture problems rarely stay static; freeze-thaw cycles can magnify them. If weather prevents roof work, temporary protection can bridge the gap until conditions improve.
Is a full rebuild always necessary for older chimneys?
Not necessarily. Targeted tuckpointing, crown replacement, or partial upper-section rebuilds can restore integrity when the lower stack remains sound. The decision comes from the inspection results, the masonry’s condition, and the long-term reliability of each option.
What’s the difference between sealant fixes and proper flashing?
Sealants have their place for fine details, but they shouldn’t be the primary defense. Proper step flashing and counterflashing, integrated with the roofing, shed water naturally. Overreliance on caulk alone tends to fail under Denver’s UV exposure and temperature swings.
Do I need to be home during the work?
It helps to be available at the start and end of the job for walk-throughs, but crews can typically proceed while you’re away, provided they have agreed access. You’ll want a final review to see the results and discuss upkeep.
Can a liner improve fireplace performance?
Yes. A properly sized and installed liner improves draft, reduces condensation, and enhances safety. It also aligns the venting system with the fuel type and appliance, helping the chimney perform as intended.
Will repairs change how my chimney looks?
They can preserve or even enhance appearance when done thoughtfully. Matching mortar and brick, crafting a properly formed crown, and fitting a well-made cap result in a finished look that complements the home while standing up to the elements.
If you’re ready to move from uncertainty to a clear, well-sequenced plan, reach out to a trusted local team that knows our weather, our building styles, and the subtle details that make chimneys reliable in the Mile High City. Start the conversation today and put a lasting solution in motion by exploring your options for chimney repair. With the right guidance, you can safeguard your home and enjoy your fireplace without worry, season after season.