Introduction: A Homeowner’s Roadmap to Chimney Repair in Denver
Owning a home in Denver, Colorado, means balancing mountain weather, intense sun, and seasonal temperature swings that stress every exterior component—especially the chimney. A sound, dry, and code-compliant chimney supports safe heating and protects the home from water intrusion. This comprehensive guide is built for homeowners who want a clear path from inspection to repair and ongoing maintenance. Use it to plan, prioritize, and execute projects confidently, and when you need professional backup, schedule trustworthy chimney repair before small issues grow into expensive headaches.
We will cover the entire lifecycle of chimney care: how to evaluate conditions, what tools and materials to gather, which repairs are realistic for DIY, and when to bring in a specialist. You will also learn how Denver’s environment affects materials and why timing your projects for the right weather window can make the difference between a durable fix and a short-lived patch.
How Denver’s Climate Shapes Your Repair Strategy
Denver’s high elevation creates a set of material sensitivities that are easy to underestimate. UV exposure accelerates degradation of sealants and coatings. Freeze–thaw cycles amplify any small crack in mortar or the crown, allowing water to wedge those cracks wider with each storm. Sudden winds challenge ladder safety and test the integrity of caps and flashing. Smart planning starts with an appreciation for these conditions, which in turn informs everything from mortar selection to protective coatings.
Know Your Chimney: Masonry, Metal, and Hybrid Systems
Most Denver homes feature masonry chimneys built with brick or block and topped with a crown and cap. Some newer or remodeled homes rely on factory-built metal systems with different assemblies and code rules. You may also find hybrid configurations—masonry chimney with a stainless steel liner, for example. Identify what you have before shopping for materials or starting repairs. Take pictures of the crown, cap, flue tile, flashing, and firebox; label them in a simple home maintenance file.
Inspection: Exterior to Interior, Top to Bottom
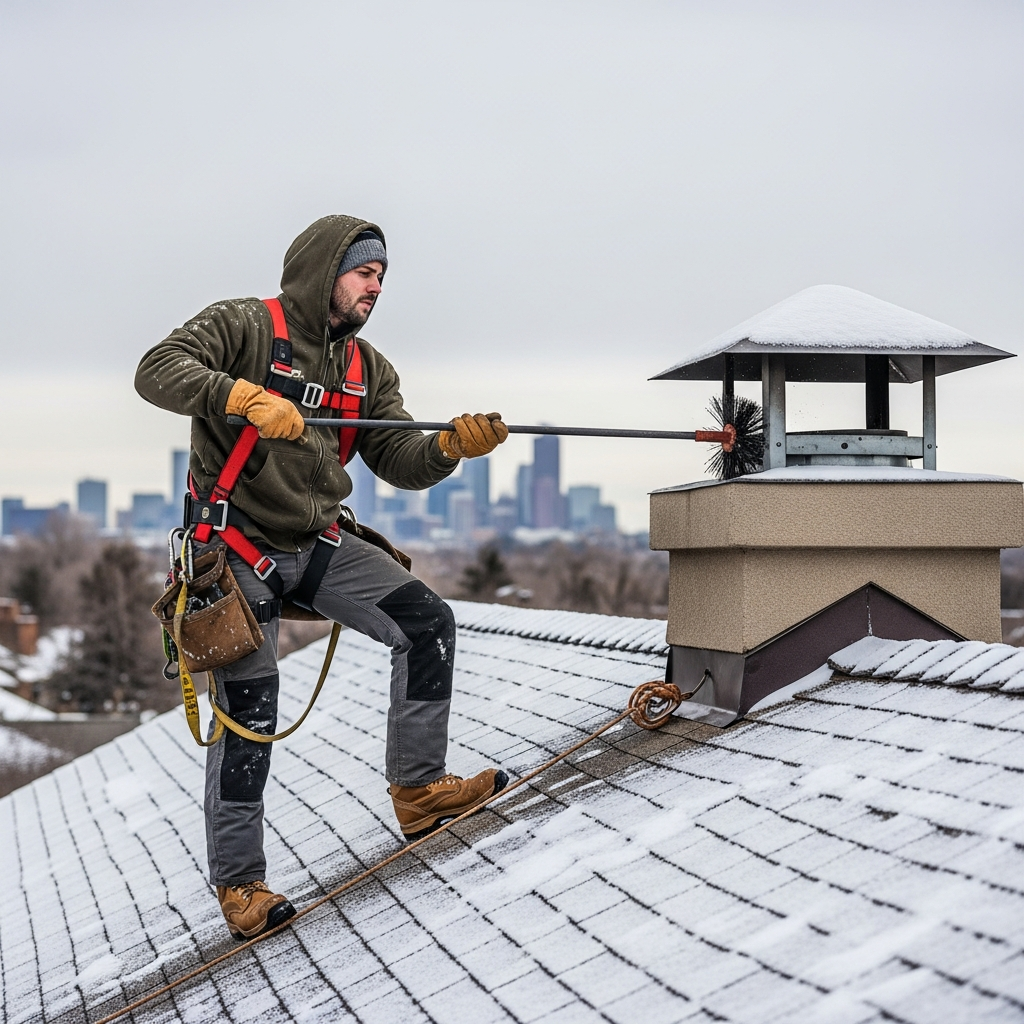
Begin at the ground, scanning the stack for tilt, cracked bricks, missing mortar, and discoloration. Move to the roof and inspect the crown for cracks, ponding, and gaps around the flue tile. Tug gently on the cap to confirm it is secure and examine the mesh for damage. Check flashing and counterflashing for separations, punctures, or brittle sealant. Inside the home, inspect the firebox, damper, and smoke chamber. Look for crumbly mortar, rusted dampers, and soot stains suggesting poor draft or moisture intrusion. In the attic, seek signs of leaks: staining, efflorescence, or damp insulation.
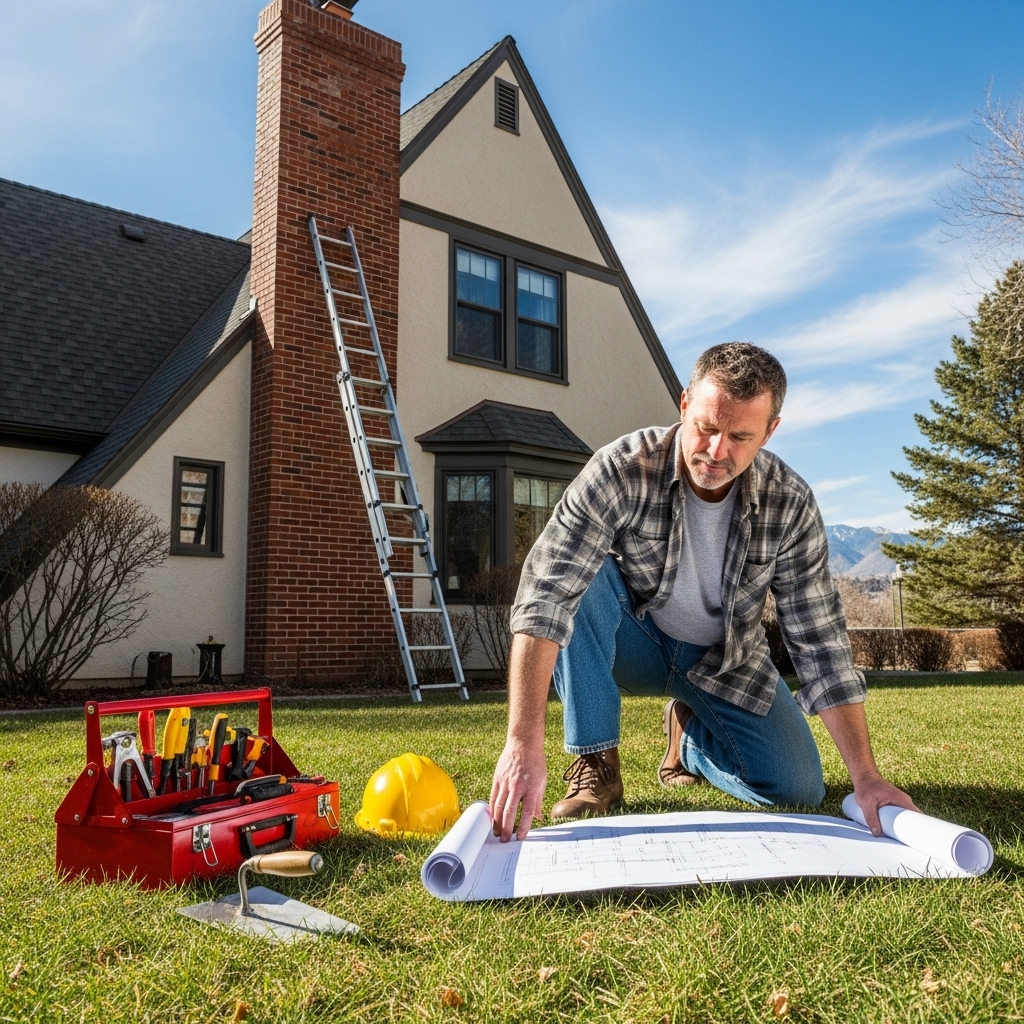
Tools, Materials, and Safety Setup
Gather a stable ladder, fall-protection harness, roof brackets, and a plank to create a safe work platform. For masonry work, assemble a joint raker, chisel, grinder with masonry wheel, tuckpointing trowel, pointing tool, hawk, and brushes. Use mortar compatible with your chimney’s brick hardness, elastomeric flashing sealant, crown patch or coating, stainless fasteners, and a breathable water repellent. Wear eye protection, gloves, non-slip footwear, and a respirator when cutting or grinding. Verify the weather window before you leave the ground.
Prioritizing Repairs: A Simple Decision Framework
- Safety first: Stabilize loose bricks or stones and address unsafe ladders, anchors, and platforms before any cosmetic work.
- Water entry points: Flashing, crown cracks, and open mortar joints should be next in line.
- Performance issues: Address damper failures, smoke chamber roughness, or draft problems.
- Preventive upgrades: Cap installation, waterproofing, and minor repointing to forestall bigger repairs later.
Step-by-Step: Repointing Masonry Joints
Rake out deteriorated mortar to a uniform depth, remove dust, and lightly dampen the joint. Mix mortar to a workable consistency and pack it firmly, tooling the surface to match the existing profile. Work in the shade when possible and protect fresh mortar from drying winds and direct sun. In Denver’s climate, curing practices are especially important; fast drying weakens bond strength and invites cracking.
Step-by-Step: Crown Repair or Replacement
For hairline cracks, clean and dry the surface, then apply a crown coating designed for freeze–thaw conditions. For significant damage, patch or replace the crown, ensuring a slight slope to shed water. Maintain a flexible, high-temperature seal around the flue, not a rigid mortar joint. Label cure times in your maintenance log so you know when it is safe to expose the repair to precipitation.
Step-by-Step: Flashing and Counterflashing
Inspect step flashing where the chimney meets the roofing and counterflashing that tucks into mortar joints. Seal minor separations with elastomeric products after thorough cleaning. For major damage, remove and replace counterflashing, cutting a clean reglet and securing with appropriate fasteners. Everywhere metal meets masonry or shingles, prioritize proper overlaps and water-shedding paths.
Step-by-Step: Caps, Screens, and Dampers
A robust cap keeps weather and wildlife out and sparks in. Choose durable materials like stainless steel and ensure the mesh size blocks pests without restricting airflow. Replace corroded or stuck dampers and verify smooth operation; a faulty damper wastes energy and contributes to draft instability. When installing a top-sealing damper, follow manufacturer guidance for clearances and sealants.
Draft, Creosote, and Combustion Byproducts
Draft issues can stem from chimney height, obstructions, or house pressure imbalances. If you notice smoke roll-out or odor when the appliance is off, investigate blockages, verify cap placement, and consider a professional draft analysis. If creosote accumulation is heavy, schedule cleaning before repairs; shiny, glazed creosote requires specialized removal.
Waterproofing the Exterior
Once structural repairs are complete and cured, apply a breathable water repellent to the masonry exterior. Work in sections from bottom to top to avoid drips and streaks. This step can significantly reduce water absorption during Denver’s spring storms and winter snowmelt, helping your repointing and crown repairs last longer.
Documentation, Photos, and Maintenance Calendar
Track each repair with photos, notes on materials, and weather conditions. Create a seasonal calendar: spring inspection and planning, summer repairs, fall validation before heating season, and winter monitoring. Record any odors, draft changes, or moisture signs after storms so you can react quickly.
When to Call a Professional
Relining a chimney, correcting structural instability, resolving severe draft problems, and addressing smoke chamber defects often require specialized tools and permits. If you encounter cracked clay tiles, shifted liners, or evidence of prior chimney fires, stop. A targeted consultation can prevent unnecessary rework and ensure compliance with local codes.
Mid-Guide Reference: Local Expertise Matters
Denver homes vary widely by neighborhood, roof pitch, and age of construction, so nuanced advice saves time. If your inspection reveals complex flashing geometry, historic brick, or a failing liner, align with experienced local help. Homeowners consistently achieve better outcomes and long-term durability when they obtain guidance or service from reputable chimney repair in Denver providers familiar with regional weather and materials.
Common Pitfalls to Avoid
- Overfilling crown–flue gaps with rigid mortar, which cracks under thermal movement.
- Applying non-breathable coatings that trap moisture.
- Using mortar mixes harder than the surrounding brick.
- Neglecting fall protection or working in gusty, unstable weather.
- Skipping post-repair validation, such as hose tests and interior checks after rain.
Frequently Asked Questions
Q: How frequently should Denver homeowners inspect their chimney? A: Conduct a visual check annually and after major storms or roof work. Schedule periodic professional assessments to catch hidden issues.
Q: Which repairs are reasonable for DIY? A: Small repointing jobs, minor crown patching, cap installation, and sealing tiny flashing gaps. Liner, structural, or smoke chamber corrections typically require a professional.
Q: Do I need waterproofing? A: If your chimney faces prevailing winds or shows absorption stains, a breathable water repellent after repairs can extend the life of the masonry.
Q: What mortar should I use? A: Choose mortar compatible with your brick’s hardness. Historic or softer brick needs a more forgiving mix to prevent spalling.
Q: How do I know the cap is the right size? A: The cap should cover the flue opening with adequate overhang and mesh that balances airflow and wildlife exclusion. Manufacturer sizing guides help, or seek local advice.
Q: Why is the attic important in chimney repair? A: Moisture often reveals itself first in the attic. Stains, rust on nails, or damp insulation near the chimney are strong indicators of exterior entry points.
Q: Can wind affect draft? A: Yes. Denver’s gusts can cause downdrafts. Cap design, chimney height, and nearby roof features all influence draft stability.
Move Forward with Confidence
With a grounded plan, the right tools, and weather-smart timing, homeowners can handle many chimney repairs safely and effectively. Document your work, validate results after storms, and maintain a seasonal checklist to stay ahead of problems. When a project calls for specialized tools or code expertise, connect with a trusted local team and schedule your chimney repair to protect your home and heating system.