Introduction: Troubleshooting Starts with Safety and Local Know-How
If you are new to chimney maintenance, Denver’s climate can make troubleshooting feel daunting. Dry air, intense sun, gusty winds, and freeze–thaw cycles exaggerate small flaws, turning hairline crown cracks or slightly soft joints into water leaks and draft problems. This beginner-friendly guide explains how to identify symptoms, trace them to likely causes, and apply safe, practical fixes. Should you reach a point where issues outpace your tools or time, lean on local specialists and arrange professional chimney repair to keep your home protected.
We will map common complaints—smoke spillage, odors, staining, wildlife intrusion, and visible masonry deterioration—to root causes and realistic remedies. Along the way, you will learn inspection habits that build confidence and prevent small problems from becoming big ones.
Symptom: Smoke Spillage or Poor Draft
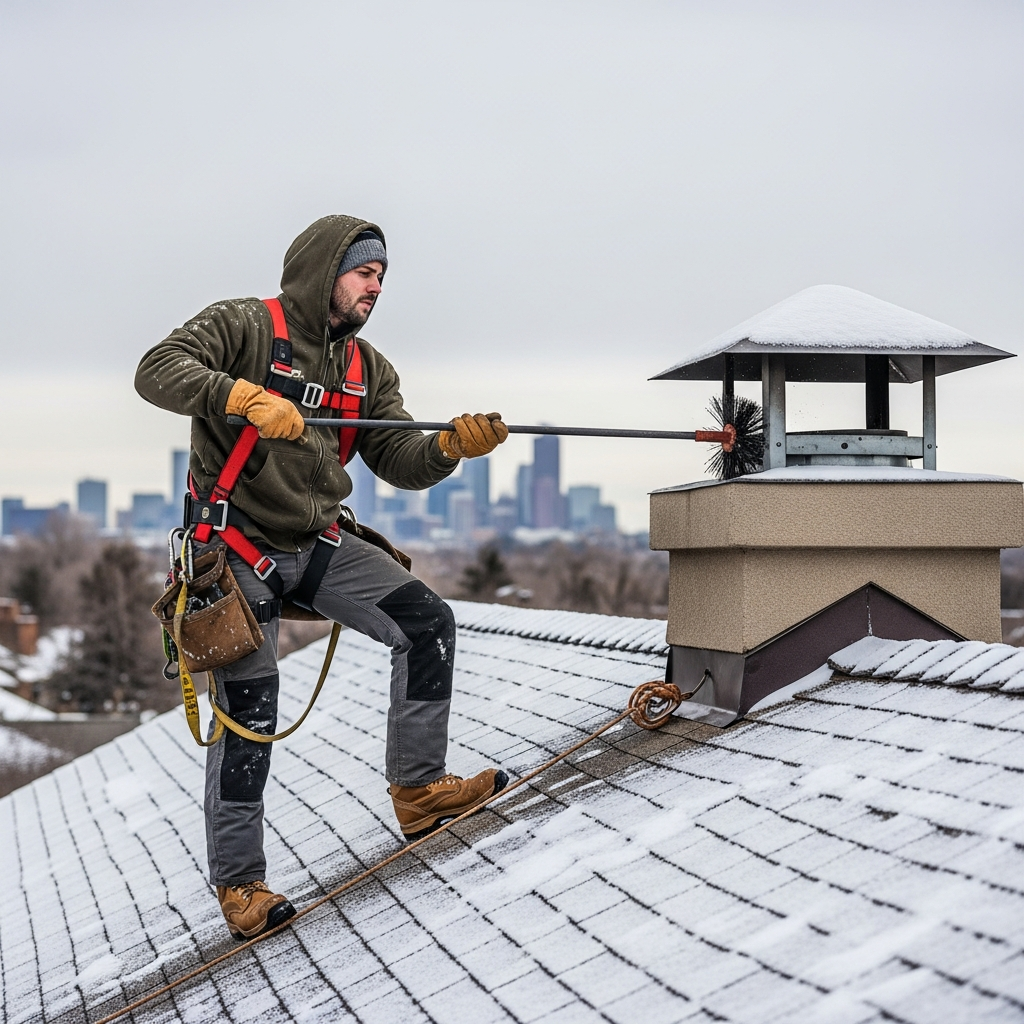
When smoke rolls into the room instead of up the flue, start with simple checks. Open the damper fully and confirm it is not warped or obstructed. Warm the flue with a small kindling fire to establish draft, especially on cold starts. If smoke persists, consider chimney height relative to nearby roof features, and inspect the cap for blockages. In windy Denver neighborhoods, downdrafts can occur—cap design and chimney height both matter.
- Likely causes: cold flue, blocked cap, inadequate height, pressure imbalances in the home.
- Basic fixes: verify damper operation, warm the flue, clean cap screens, and evaluate height guidance in local codes.
- When to stop: if draft issues persist after basic steps or if you suspect liner damage.
Symptom: Musty Odors or Moisture Stains
Musty odors often signal water entry through crown cracks, failed flashing, or missing caps. Stains in the attic near the chimney or on interior walls point to the same sources. Because Denver’s freeze–thaw cycles worsen tiny cracks, early intervention is important.
- Likely causes: crown cracks, gaps at the flue–crown interface, lifted flashing edges, missing or damaged cap.
- Basic fixes: patch crown cracks with compatible materials, re-seal flashing gaps, and install or secure a stainless cap.
- When to stop: if bricks feel loose or if you see structural movement or deep crown fractures.
Symptom: Visible Mortar Deterioration or Spalling Bricks
Soft, sandy mortar and flaking brick faces are red flags. Freeze–thaw cycles drive water into weak joints, and overly hard replacement mortar can force damage into the brick itself.
- Likely causes: aged or mismatched mortar, trapped moisture, and exposure on windward faces.
- Basic fixes: repoint with compatible mortar; apply breathable water repellent after curing.
- When to stop: if spalling is widespread or the stack shows signs of leaning.
Symptom: Wildlife Intrusion
Noises in the flue or nesting materials around the appliance usually mean the cap or its mesh has failed. Raccoons, squirrels, and birds commonly enter unprotected chimneys in Denver.
- Likely causes: missing cap, damaged mesh, or inadequate fasteners.
- Basic fixes: install a properly sized stainless cap with durable mesh and secure it firmly.
- When to stop: if wildlife is present; contact a humane removal service before proceeding.
Symptom: Damper Problems
A stuck or warped damper compromises draft and energy efficiency. Rust from moisture entry is a common culprit.
- Likely causes: corrosion due to leaks, creosote buildup, or mechanical wear.
- Basic fixes: clean, lubricate where appropriate, and replace if warped or severely corroded.
- When to stop: if replacement involves major firebox modifications or top-sealing damper installation beyond your comfort.
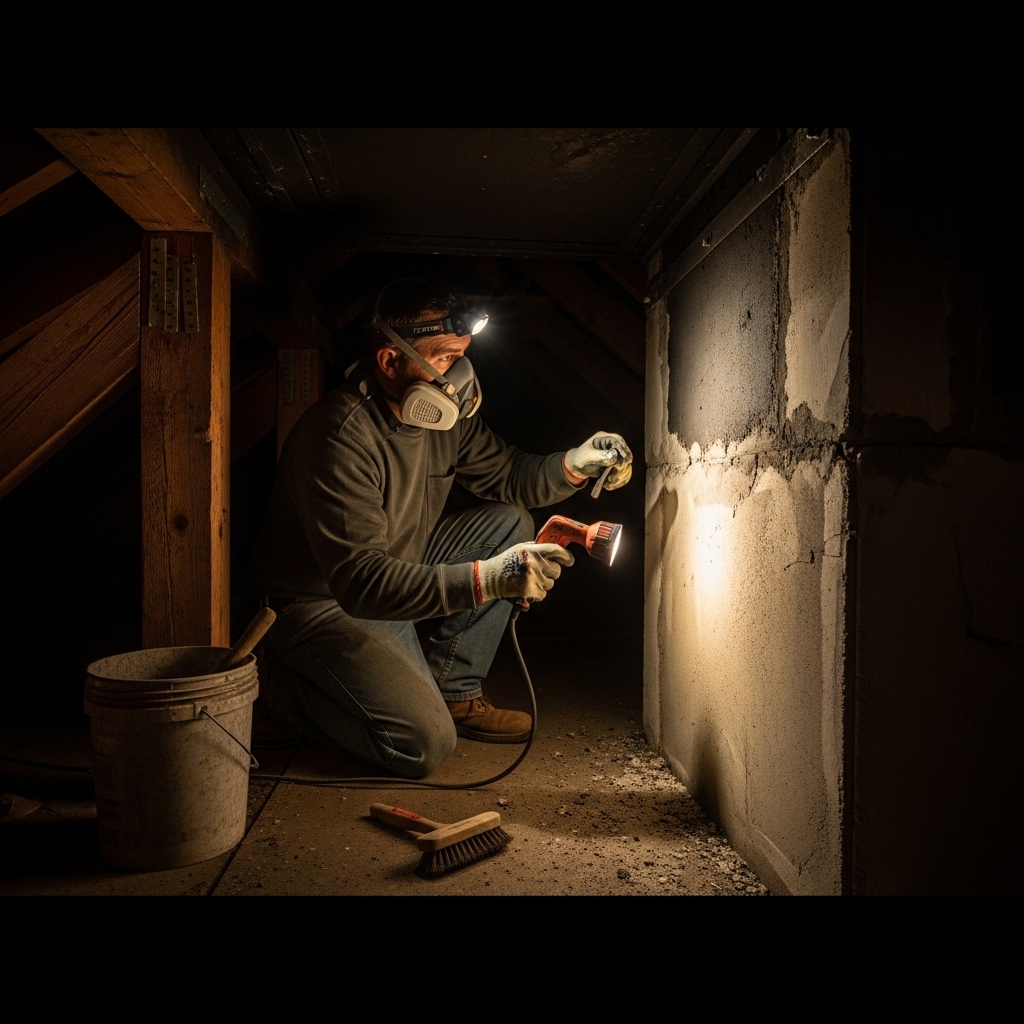
Inspection Habits for Beginners
- Work methodically: ground scan, roof-level inspection, attic check, and interior review.
- Use the right light: a headlamp and a bright flashlight reveal cracks and roughness in the smoke chamber.
- Probe gently: use a tool to test mortar. If it crumbles easily, plan repointing.
- Document findings: photos, dates, weather conditions, and materials used to track performance.
- Respect weather: avoid wind and precipitation. Remember that Denver storms can form quickly.
Starter Repairs You Can Tackle
Many beginners successfully execute minor repairs with patience and a safety-first mindset.
- Repointing small sections: rake, clean, dampen lightly, and fill with compatible mortar, tooling to match existing joints.
- Sealing tiny flashing gaps: clean thoroughly and use elastomeric sealant designed for roofing interfaces.
- Crown crack treatment: clean and coat with a freeze–thaw resilient product; patch larger voids per manufacturer instructions.
- Cap installation: fit a stainless cap with the right mesh size and secure fasteners appropriately.
Repairs That Usually Require a Pro
- Liner replacement or relining with stainless steel.
- Smoke chamber reconstruction or extensive parging.
- Structural repairs where bricks have shifted or the chimney leans.
- Comprehensive flashing and counterflashing replacement on steep or complex roofs.
Tools and Materials for the Beginner’s Kit
- Ladder, roof brackets, plank, and fall-protection harness.
- Joint raker, chisel, tuckpointing trowel, and pointing tool.
- Angle grinder with masonry wheel and wire brushes.
- Compatible mortar, elastomeric flashing sealant, crown patch/coating, and stainless fasteners.
- Breathable water repellent and cleaning supplies.
- PPE: gloves, eye protection, respirator, and non-slip footwear.
Mid-Process Checkpoint: Pause and Reassess
Halfway through your trouble-shooting—after exterior checks and before interior work—pause. Confirm that weather remains stable, your anchor and platform are secure, and your findings align with your repair capacity. If the scope has grown—say, you uncover a cracked liner or a failing crown spanning the entire chimney—pivot. Reliable local chimney repair resources can step in to manage complex or hazardous elements while you complete simpler tasks.
Quality Control After Each Fix
Do not assume success—verify it. After repointing, inspect joints for uniform tooling and tight edges. Following crown work, check for proper slope and flexible sealing around the flue. After sealing flashing, perform a controlled hose test at the roofline and recheck the attic. For cap upgrades, confirm fasteners are tight and that mesh is intact and appropriately sized.
Seasonal Timing Tips for Denver
Time your work to the weather. Reserve major masonry tasks for late spring through early fall, when cure times are predictable. Use fall to validate performance before heating season. In winter, focus on monitoring and interior checks, addressing emergencies with professional help. This rhythm aligns with Denver’s rapid weather changes and maximizes durability.
Frequently Asked Questions
Q: How do I tell if mortar is failing? A: If mortar powders when touched or if a tool easily rakes it out, it is time to repoint. Look for gaps that collect water or let it pass through.
Q: What makes Denver different for chimney work? A: Elevation, wind, and freeze–thaw cycles accelerate wear. Materials and cure times must be selected with these factors in mind.
Q: Do I need to waterproof my chimney? A: On many Denver homes, yes—after structural repairs and with breathable products that allow vapor to escape.
Q: How can I reduce smoke spillage? A: Warm the flue, verify damper operation, and ensure the cap and chimney height are appropriate. Persistent issues deserve professional evaluation.
Q: Are top-sealing dampers worth it? A: They can improve energy efficiency and draft in some homes, but installation must be done carefully to maintain clearances and sealing.
Q: When is it unsafe to proceed? A: If you notice loose or shifting bricks, deep crown fractures, cracked liners, or any sign of structural movement, stop and get qualified help.
Take Confident, Safe Action
Beginner troubleshooting succeeds when you respect safety, work methodically, and verify every fix. Start small, document thoroughly, and escalate to expert support for complex or hazardous issues. When you are ready to move forward, schedule your trusted chimney repair and protect your Denver home throughout the heating season.