Introduction: Safety-First Chimney Repair in Denver
Chimney repair is one of those projects that looks manageable from the ground but becomes complex once you account for altitude, weather, roof pitch, and building codes. In Denver, Colorado, elevation, freeze–thaw cycles, and intense UV exposure make chimneys age faster and behave differently than in milder climates. Whether you are tackling a minor mortar touch-up or assessing a damaged crown, the safest approach combines patient planning, proper tools, and an understanding of local conditions. If, at any point, the scope feels beyond your comfort or time, consider professional help from a trusted local team specializing in chimney repair in Denver so you can proceed with confidence.
This guide walks you through safety protocols, inspection techniques, and practical repair methods suited for Denver homes. You will learn how to evaluate masonry and metal components, prepare your workspace, work at height, choose the right materials for high-altitude climate stress, and document repairs. While many light repairs are approachable for a prepared homeowner, safety is nonnegotiable: fall protection, debris control, fire precautions, and weather awareness must come first.
Why Denver’s Climate and Elevation Matter
Denver’s elevation, dry air, and wide temperature swings put chimneys under unique pressure. Water penetrates tiny masonry pores, then expands during freeze–thaw cycles, cracking joints and crown surfaces. UV radiation also breaks down some sealants faster, and sudden afternoon winds complicate work at height. Meanwhile, snow and ice accumulate around flashing and counterflashing, driving water beneath shingles and into mortar joints. The cumulative effect means a chimney that might last decades without attention in a coastal climate needs more frequent inspections and timely intervention here.
Gas and wood-burning appliances add another variable. Condensation from efficient gas appliances can be acidic, eroding mortar and clay tile liners more quickly. Wood creosote, if allowed to accumulate, can ignite and damage flues and smoke chambers. Your repair strategy must account for the appliance type as well as the stack’s age and design.
Core Safety Principles Before You Start
Working on a roof is inherently risky. In Denver, gusty winds and sudden storms can increase that risk significantly, so never begin a repair without a plan.
- Weather window: Choose a clear, calm day with no gust warnings. Avoid midday heat and late-afternoon thunderstorms.
- Fall protection: Use a properly rated harness, secure anchor, and lifeline. Wear non-slip boots and gloves with good grip.
- Ladder placement: Extend at least three feet beyond the roof edge and secure the ladder at both top and base. Verify the angle using the 4:1 rule.
- Debris control: Use tarps to catch mortar and dust. Keep walkways and driveways clear below the work zone.
- Fire safety: Extinguish all fires and disable appliances feeding the chimney. Let surfaces cool completely before touching flue or smoke chamber components.
- Dust and respiratory protection: Mortar grinding and parging release fine particles; wear eye protection and a respirator rated for masonry dust.
Tools and Materials Checklist
Preparation shortens time on the roof and reduces risk. Assemble your kit before climbing:
- Masonry tools: tuckpointing trowel, pointing tool, joint raker, margin trowel, hawk, cold chisel, and brick hammer.
- Grinding and cleaning: angle grinder with masonry wheel, wire brushes, and stiff nylon brushes.
- Mortar and patching: masonry mortar matched to existing hardness, pre-mix for crowns if appropriate, and compatible bonding agents.
- Sealants and coatings: elastomeric flashing sealant, high-quality masonry water repellent, and crown coatings rated for freeze–thaw.
- Metal components: flashing, counterflashing, fasteners, and stainless-steel chimney cap with mesh sized for wildlife exclusion.
- Safety gear: harness, lanyards, rope grab, roof brackets, and PPE for eyes, hands, and lungs.
Initial Inspection: Outside and Inside
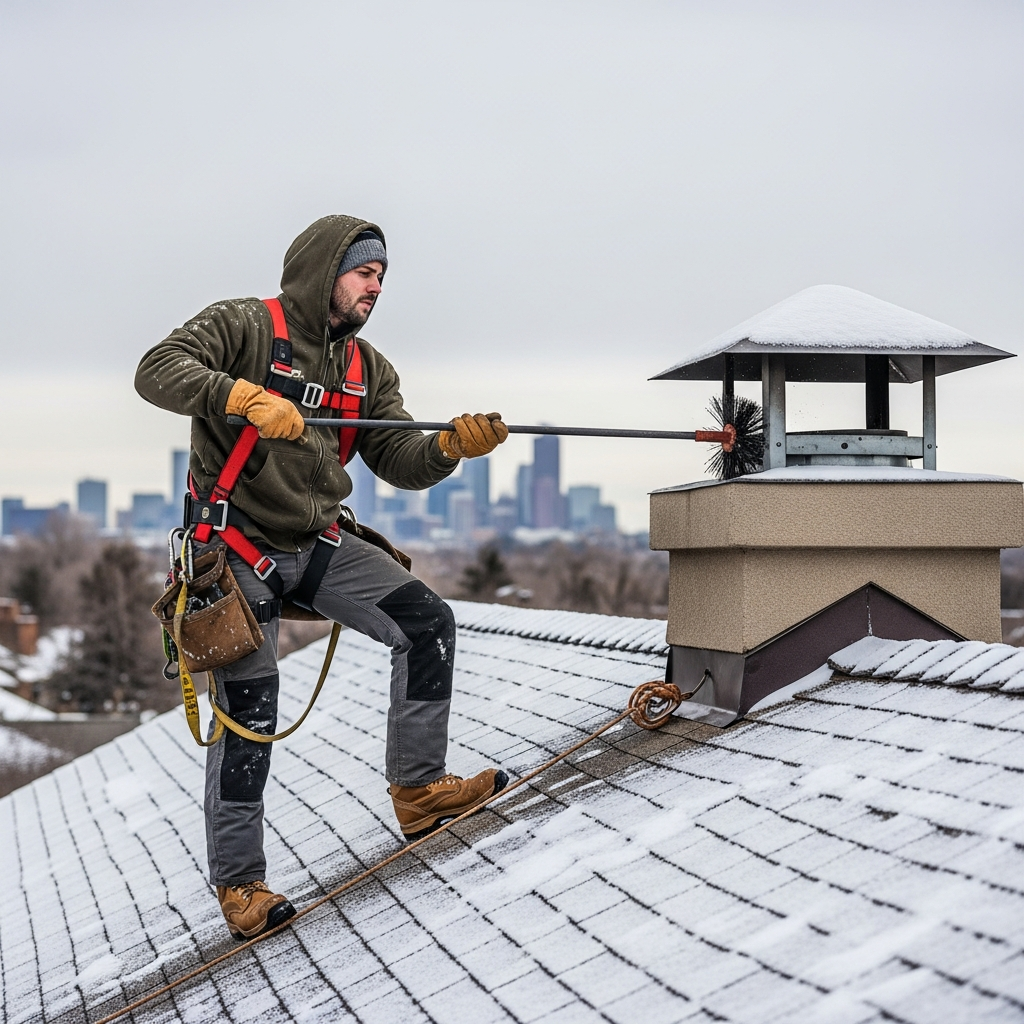
Begin at ground level and work upward systematically. From the yard, use binoculars to spot missing mortar, spalled brick faces, cracked crowns, tilted stacks, and damaged caps. Look for rust streaks that hint at water entering through flashing or caps. Then move to the roof and check each element up close: crown, flue tile, brick faces, mortar joints, and flashing points. Gently probe mortar with a tool; if it crumbles easily, you likely need repointing. Note gaps between flue tile and crown, hairline crown cracks, and soft joints that shed sand with finger pressure.
Inside, inspect the attic near the chimney for staining, efflorescence, or frost marks. In the firebox, check the smoke chamber for rough parging, missing mortar, and creosote crusts. Glazed creosote requires specialized removal—do not attempt to burn it out. If your liner is cracked or offset, or if you suspect inadequate clearance to combustibles, stop and consult a qualified technician.
Working Safely at Height
Set roof brackets and a plank to create a stable platform beside the chimney. Secure your harness to a rated anchor independent of the chimney stack itself. Keep tools leashed where possible to prevent drops and place heavy items on stable surfaces. Establish a routine for handing tools up and down in a bucket tied to a haul line. Always maintain three points of contact when moving and keep your lanyard short enough to prevent a swing fall.
Repointing (Tuckpointing) Mortar Joints
Repointing stops water intrusion and restores structural integrity. Rake out deteriorated joints to a uniform depth of about two to two-and-a-half times the joint thickness, removing loose grains and dust. Lightly mist the joint—never saturate—to prevent premature moisture loss from the new mortar. Pack mortar firmly into the joint in lifts, tooling it to match the existing profile for consistent water shedding. Work small sections so mortar doesn’t skin over before tooling.
In Denver’s climate, matching mortar hardness is critical. Using a mortar that is too hard can cause bricks to spall during freeze–thaw cycles. When in doubt, select a mortar compatible with older, softer brick if that matches your chimney’s age. Cure slowly: shade the work and protect from rapid drying winds.
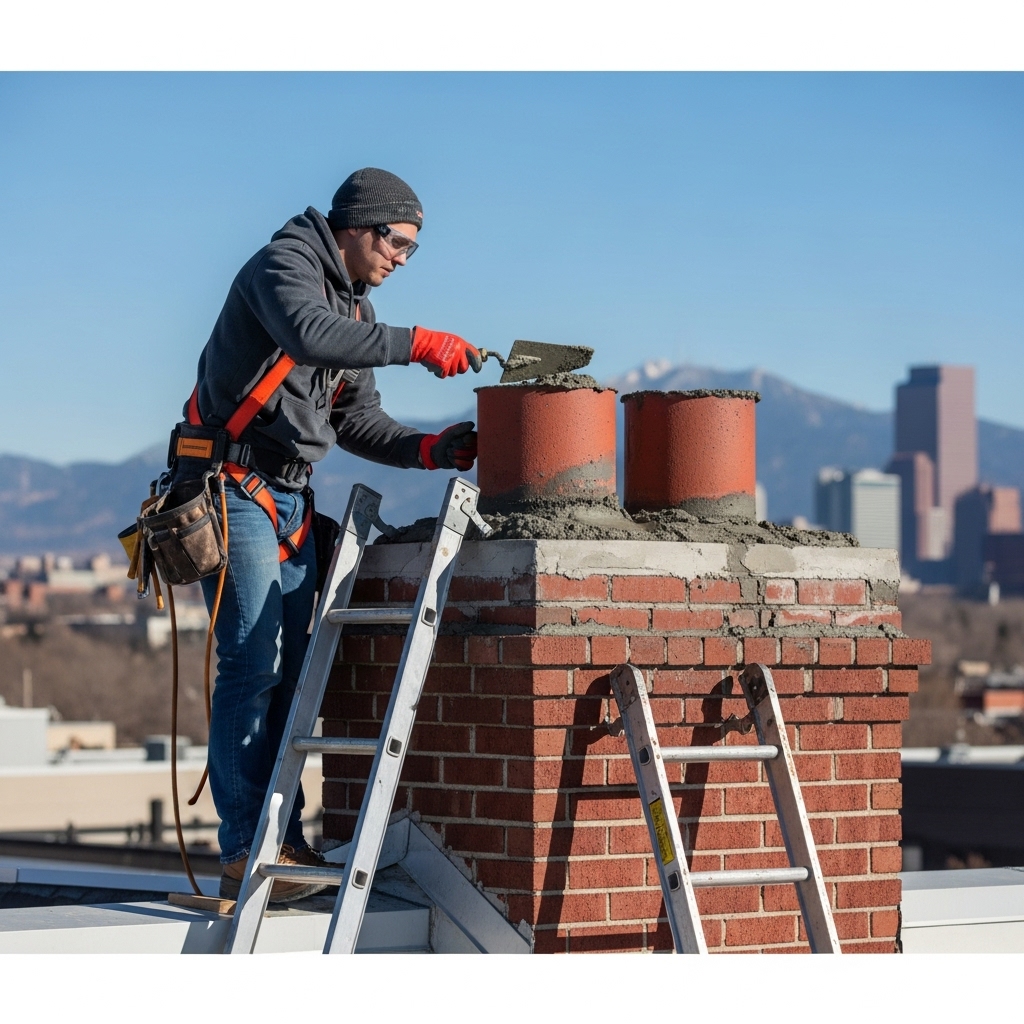
Repairing the Crown
The crown is your first defense against water. Hairline cracks may be treatable with elastomeric crown coatings; wider cracks or missing sections require patching or full replacement. Clean the surface thoroughly, remove loose material, and follow manufacturer cure times, which can vary with altitude and temperature. Ensure a slight slope for water runoff and leave a gap around the flue tile to allow thermal expansion; seal the gap with a high-temperature flexible sealant designed for crowns.
Flashing and Counterflashing
Wind-driven snow and ice challenge flashing. Inspect step flashing along the roofline and counterflashing cut into mortar joints. If you see gaps, brittle sealant, or lifted sections, address them immediately. Small separations can be sealed with an elastomeric flashing sealant after cleaning and drying. For larger failures, remove old counterflashing, grind a clean reglet in the mortar joint, and install new metal properly lapped and secured. Keep fasteners stainless or galvanized to resist corrosion.
Chimney Caps and Wildlife Prevention
A properly sized cap prevents rain entry, blocks embers, and keeps animals out. Choose stainless steel or similarly durable materials. In Denver’s foothills and urban corridors, raccoons, birds, and squirrels often seek shelter in flues—mesh must be tight enough to deter them but not restrict exhaust. After installation, verify clearances for draft and ensure the cap does not contact the flue tile directly in a way that transmits stress.
Liner Concerns and Smoke Chamber Parging
Cracked clay tiles, missing mortar between tiles, or a deteriorated smoke chamber present serious hazards. Some repairs, like parging a rough smoke chamber to a smooth, code-compliant surface, are feasible for competent DIYers with the right tools and guidance. Others, like relining a flue with stainless steel, are complex and may require permits and specialized equipment. If you see displaced tiles, heavy creosote glaze, or signs of prior chimney fires, stop and seek expert evaluation.
Waterproofing Masonry
After structural repairs and curing, consider applying a breathable, silane/siloxane-based water repellent to the exterior masonry. This reduces water absorption while allowing vapor to escape, an important feature in freeze–thaw climates. Clean the surface, allow it to dry, and apply evenly from bottom to top to prevent streaks. Do not seal interior firebox surfaces with products not designed for high heat.
Documentation and Maintenance Log
Keep a record of what you repaired, the date, materials used, and weather conditions. Take before-and-after photos. This helps you monitor performance, support warranty claims on products, and plan future work. Also note any odors, draft issues, or moisture patterns you notice during the heating season.
Mid-Project Decision Points
If seasonal winds pick up, or if you discover hidden damage such as deep crown fractures, unstable bricks, or an unsafe liner, pause. Adjust your plan, gather the correct materials, and, when needed, bring in experienced help. Homeowners often save time and improve outcomes by consulting reliable Denver chimney repair resources when problems exceed basic maintenance, especially where code compliance and fire safety are at stake.
Common Mistakes to Avoid
- Overgrinding joints, which weakens brick edges and accelerates spalling.
- Using overly hard mortar on soft historic brick.
- Filling crown–flue gaps rigidly instead of with flexible, high-temp sealant.
- Skipping flashing inspection because it “looks fine” from the ground.
- Applying non-breathable sealers that trap moisture in the masonry.
- Working in wind or on icy surfaces without proper fall protection.
Seasonal Timing in Denver
Spring and early summer are often ideal for masonry work because temperatures are moderate and curing is more predictable. Fall can work too if you plan ahead, but sudden cold snaps complicate curing and limit sealant performance. In winter, outdoor repairs are challenging—choose indoor tasks like smoke chamber inspection and planning future work, and address emergencies with professional assistance.
Post-Repair Testing
After mortar has cured and caps or flashing are installed, test for moisture intrusion with a controlled hose test at the roofline, avoiding direct pressure on the masonry. Inside, check the firebox and attic area after a light rain or first snowfall of the season to confirm dryness. When burning the first fire of winter, observe draft behavior, smoke spillage, and any unusual odors. Abnormal results warrant further inspection.
Disposal and Site Cleanliness
Collect mortar debris, metal offcuts, and damaged components, and dispose of them properly. Keep the roof and gutters clear of dust and granules, which can shorten shingle life. Clean tools thoroughly to prolong their lifespan. A tidy site is not only professional; it is safer.
Frequently Asked Questions
Q: How often should a Denver homeowner inspect a chimney? A: At least once a year visually, plus a professional evaluation periodically or after severe weather, roof work, or performance issues like smoke spillage.
Q: Can I repoint during colder months? A: Mortar requires specific temperatures to cure; cold conditions demand heated blankets or accelerators and careful timing. It is safer to schedule major repointing for milder weather.
Q: What signs indicate crown failure? A: Cracks, ponding water, exposed aggregate, and flaking. Water stains in the attic or rust streaks on the exterior can also point to crown or flashing problems.
Q: How do I know my flashing needs work? A: Look for gaps, brittle or missing sealant, lifted metal edges, and moisture inside near the chimney. Step flashing should be interwoven with shingles, and counterflashing should be embedded in mortar joints.
Q: Is waterproofing always necessary? A: Not always, but on older masonry or windward exposures, a breathable repellent reduces freeze–thaw damage. Always complete structural repairs before applying water repellents.
Q: What if I discover a cracked tile liner? A: Stop using the appliance and arrange a professional inspection. Liner repairs can be complex and often require relining to restore safe operation.
Q: Are metal chimneys different? A: Yes. Factory-built metal systems have specific clearances and components. Follow the manufacturer’s instructions and never mix parts across brands or models.
Next Steps for a Safer Chimney
If you are ready to secure your home for the heating season, choose a calm day, stage your safety equipment, and start with inspection and small, targeted repairs. For anything beyond your tools or comfort level, schedule a visit with a trusted local specialist. Protect your home, improve performance, and enjoy peace of mind by arranging expert help—book your chimney repair today.