In Denver’s older neighborhoods, chimneys are more than vents; they are architectural signatures that tell a story about craft and era. From the stately brickwork of Congress Park to the stone chimneys tucked into early bungalows in West Highlands, each stack carries its own vocabulary of details—corbeled courses, decorative caps, unique mortar shades. When those features show wear, the goal is to restore both function and character without rewriting the original design. That delicate balance is the essence of thoughtful chimney repair for historic homes, and it starts with an appreciation for how these structures were built and how Denver’s climate tests them year after year.
Historic masonry ages in conversation with the weather. Decades of sun, snow, and freeze-thaw cycles leave clues in mortar joints, crown surfaces, and brick faces. Many early 20th-century chimneys were built with softer bricks and lime-rich mortars, materials that are meant to flex and breathe. When they begin to fail, it’s rarely sudden. Tiny sand grains loosen in the joints, hairlines web across the crown, and faint white efflorescence appears where moisture migrates. Understanding those signals is key because the wrong fix—especially hard, modern mortars or non-breathable coatings—can trap water and accelerate damage in the very bricks you’re trying to protect.
Respecting Original Materials and Methods
Good conservation starts with a forensic mindset. We examine existing mortar for color, texture, and composition, often performing simple field tests to estimate lime and cement content. The objective is compatibility. A replacement mortar that is too rigid can force movement into surrounding bricks, causing spalls and edge cracking. A compatible mix cushions the brickwork, sheds water, and weathers at a similar rate, preserving the balance the original mason intended. Brick selection matters as well. Salvaged or carefully sourced units can match the size and surface of existing courses, maintaining the rhythm of the walls and the chimney’s visual cadence.
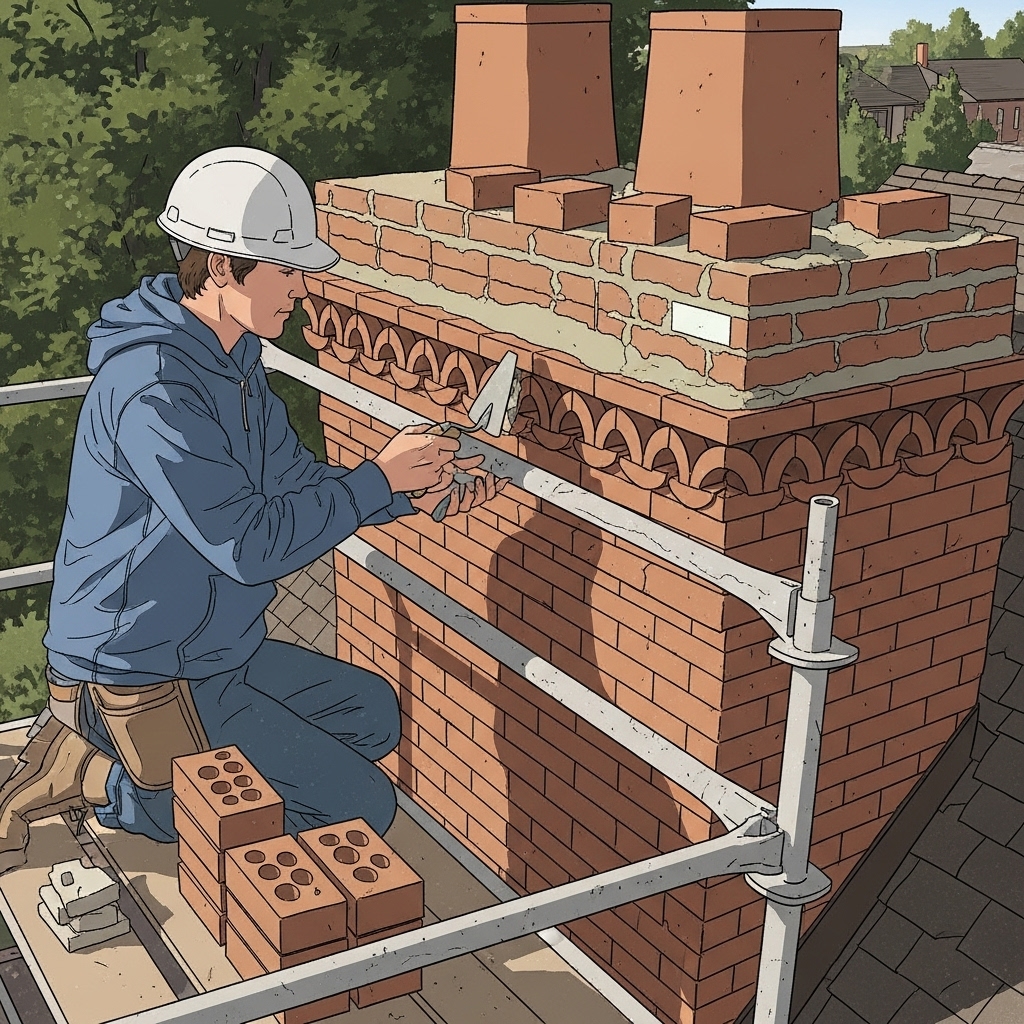
Equally important is the crown, sometimes a formed concrete slab, other times a built-up mortar top shaped by hand. Historic crowns tend to be thinner than modern practice recommends, and freeze-thaw cycling can fracture them over time. Rebuilding a crown for a historic home is an opportunity: introduce a gentle slope, a proper drip edge, and reinforcement that remain discreet while significantly improving performance. The result is a top that looks appropriate to the house yet resists water intrusion for years to come.
Denver Climate and the Historic Chimney
Our altitude magnifies daily temperature swings, and that means masonry expands and contracts more than in milder climates. Moisture management is everything. Mortar joints are the first defense, directing surface water and allowing trapped moisture to escape. The chimney’s outer shell needs to stay dry enough to resist freeze damage, but it must also breathe. That’s why blanket waterproofing isn’t always the answer. Where coatings are considered, we favor breathable repellents that shed bulk water while allowing vapor to pass outward, preventing pressure build-up inside the masonry. Each decision takes the specific chimney, brick type, and exposure into account.
Wind is another Denver factor. It swirls around rooflines, finds every weakness in old flashing, and drives rain under counterflashing that looks sound from the yard. We see many historic chimneys with step flashing that has loosened or sealed over with brittle mastics. Correcting those transitions without scarring the brick is a careful operation. Cleanly cut reglets or well-tooled mortar joints accept counterflashing that becomes part of the architecture rather than a conspicuous band of shiny metal.
Preserving Details While Solving Problems
The most satisfying repairs are ones you later forget were ever made. Tuckpointing is the backbone of that work. We rake out failing joints to a modest depth, keeping edges square, and tool in fresh mortar that matches both composition and appearance. When the color wash of a historic mortar is difficult to replicate, subtle tinting or a limewash may be used to bring the whole face into harmony, always with vapor permeability in mind. Brick replacement is judicious; we remove only those units that are compromised, lay in closers that match, and align bond patterns with the precision the original mason used.
Caps and pots require special attention. Many historic chimneys were finished with terra-cotta pots or simple corbeled shoulders. A modern metal cap can feel out of place unless carefully selected and installed. That does not mean foregoing protection; it means choosing a profile and finish that serve the house. A low-profile stainless cap can be powder-coated to blend with brick and virtually disappear from the street, all while keeping water and wildlife out and improving draft stability.
Interior Systems: Liners, Draft, and Safety
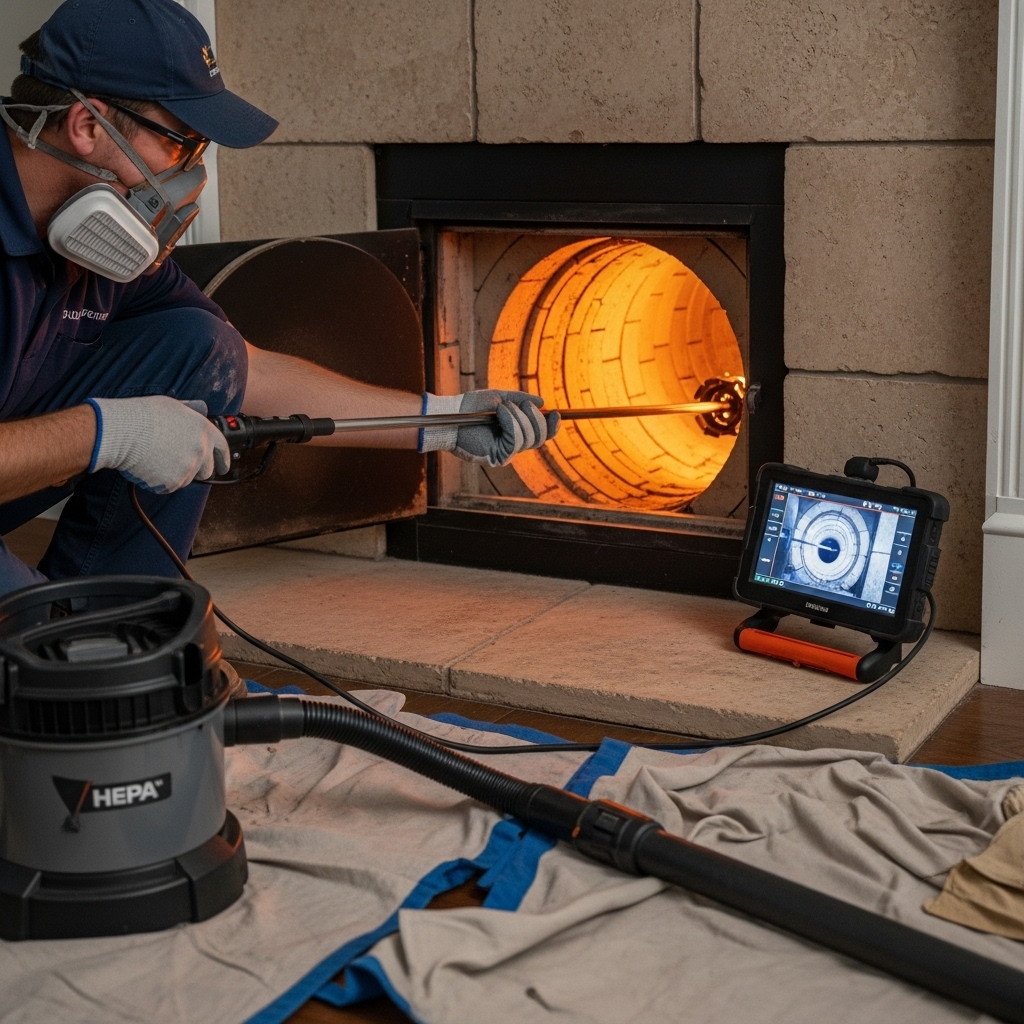
The inside of a historic chimney is often a blend of yesterday and today. Some have original terra-cotta liners intact but cracked at joints; others were used unlined for decades and now need a continuous flue for safety and performance. Stainless steel liners are a common solution, but the installation should respect the chimney’s interior shape and the appliance it serves. Correct sizing supports proper draft, and careful transitions at the throat and smoke chamber keep the fireplace pulling cleanly. Where a fireplace is decorative but not in regular use, we may stabilize the interior surfaces and install a discreet top-seal damper to control energy loss without altering the hearth’s character.
Gas conversions in historic homes add another layer. Modern gas logs and inserts require stable venting and precise clearances. We ensure that liners, dampers, and caps work together so that the fireplace you enjoy on a winter evening does so safely and efficiently, without hidden moisture issues or backdrafting.
Working with Local Guidelines and Approvals
Denver’s landmarked districts and historic designations are there to protect the very qualities that make your home special. We are accustomed to collaborating with preservation staff and following the review process for exterior work. Clear documentation—photos, measured drawings, and mortar analyses—helps everyone speak the same language. When a repair remains faithful to the original materials and form while addressing real functional needs, approvals tend to move smoothly. That coordination saves time and minimizes surprises once the scaffolding is up.
Permitting also dovetails with safety. If structural work is required—say, rebuilding a firebox wall or stabilizing a leaning chimney—we integrate engineering input and plan sequencing so that the home remains secure throughout the process. Your neighbors will see scaffolds and hear tools, but the finished product will look like it has always belonged.
The Repair Process, Step by Step
An initial assessment sets the tone. We document joints, crowns, flashing, and interior flue conditions. Photographs and simple moisture readings help define priorities. Active leaks, unstable masonry, or safety concerns are addressed immediately. Then we phase the work: first the crown and cap to control water, then the joints and brick repairs to strengthen the shell, followed by flashing integration and any liner or damper improvements. This sequencing reduces rework and ensures that each repair supports the next.
In practice, that may mean erecting a small scaffold to remove a failing crown and forming a new one with a slight slope and drip edge that complements the historic silhouette. While cures are underway, tuckpointing proceeds on windward faces where joints are most exposed. Brick replacements are feathered across elevations so that no one patch draws the eye. Flashing is lifted, assessed, and re-integrated. The result is a chimney that performs like a new system but reads as authentically old.
Midway through a project, homeowners often ask whether a particular element is worth upgrading. The answer comes back to longevity and fit. A well-designed cap that vanishes visually yet shields the flue is a smart investment in performance. A liner that stabilizes draft and protects interiors pays dividends in safety and reduced maintenance. And careful, compatible tuckpointing is the quiet hero that holds the whole assembly together. When these choices are coordinated through experienced chimney repair, the home keeps its soul while gaining resilience against our climate.
Maintenance for the Long Run
Once repairs are complete, care becomes simple and regular. Annual inspections catch small changes before they become big ones. A bit of repointing here, a gentle cleaning there, and an occasional check of flashing after a wind event keep the system tight. Where water exposure is heavy—north faces shaded by trees, for example—we may recommend a breathable repellent on select areas, monitored over time to be sure it performs as intended. It is never about sealing the entire chimney in a membrane; it is about guiding water and vapor intelligently so the masonry can do what it was made to do.
Inside, keep an eye on usage. Burning well-seasoned wood reduces creosote in wood-burning fireplaces. For gas systems, clean burners and verify draft annually. With historic homes, small, steady care preserves both the function and the aesthetic, and it is far more effective than waiting for a dramatic failure to force a large project.
Frequently Asked Questions About Historic Chimney Repairs
How do you match the old mortar so repairs don’t stand out?
We analyze the existing mortar for color, sand texture, and binder ratio, then craft a compatible mix that weathers similarly. Tooling technique and joint profile matter as much as color, and subtle tinting can bring the face into harmony without losing breathability.
What if a previous repair used a hard, modern mortar that is damaging the brick?
We selectively remove the incompatible joints where practical and replace them with a softer, compatible mortar. This relieves stress on the bricks and slows ongoing spalling. In severe cases, targeted brick replacement may be necessary to restore integrity.
Will adding a metal cap spoil the look of my historic chimney?
Not if it’s chosen and installed thoughtfully. Low-profile, powder-coated stainless caps can blend with brick and read as a shadow line from the street, all while protecting the flue from water and animals. We match proportions to existing pots and corbels to preserve the original silhouette.
Is waterproofing recommended for historic masonry?
We sometimes use breathable water repellents on specific exposures, but blanket sealing is usually counterproductive. The goal is to shed bulk water while allowing vapor to escape. Each chimney is evaluated individually to determine if and where a repellent makes sense.
Can you reline a historic chimney without harming its character?
Yes. Stainless liners can be installed discreetly and sized to support proper draft for the fireplace or appliance. The exterior appearance is unchanged, and interior transitions are refined so the system works safely and efficiently.
Do I need special approvals to repair my chimney in a landmark district?
Many exterior changes in landmark areas require review. We handle documentation and coordinate with preservation staff to ensure that materials and methods align with historic standards while addressing functional needs.
When is the best time of year to undertake repairs?
Warm, dry months offer the best curing conditions for mortar and crown work, but many tasks can be sequenced in shoulder seasons. Planning ahead ensures that weather-sensitive steps land in the right window.
If your historic chimney shows its age and you’re ready to strengthen it without sacrificing character, we can help you navigate every decision with respect and precision. From mortar matching to discreet caps and liners, our approach keeps your home’s story intact while solving today’s challenges. When you are ready to move forward with thoughtful chimney repair, reach out and let’s protect what makes your home uniquely Denver.